Named Patient
Overview
Named Patient applications are used when requesting authorization for an unregistered medicine for a specific, identified patient. These applications require detailed information about both the patient and the requested medicine.
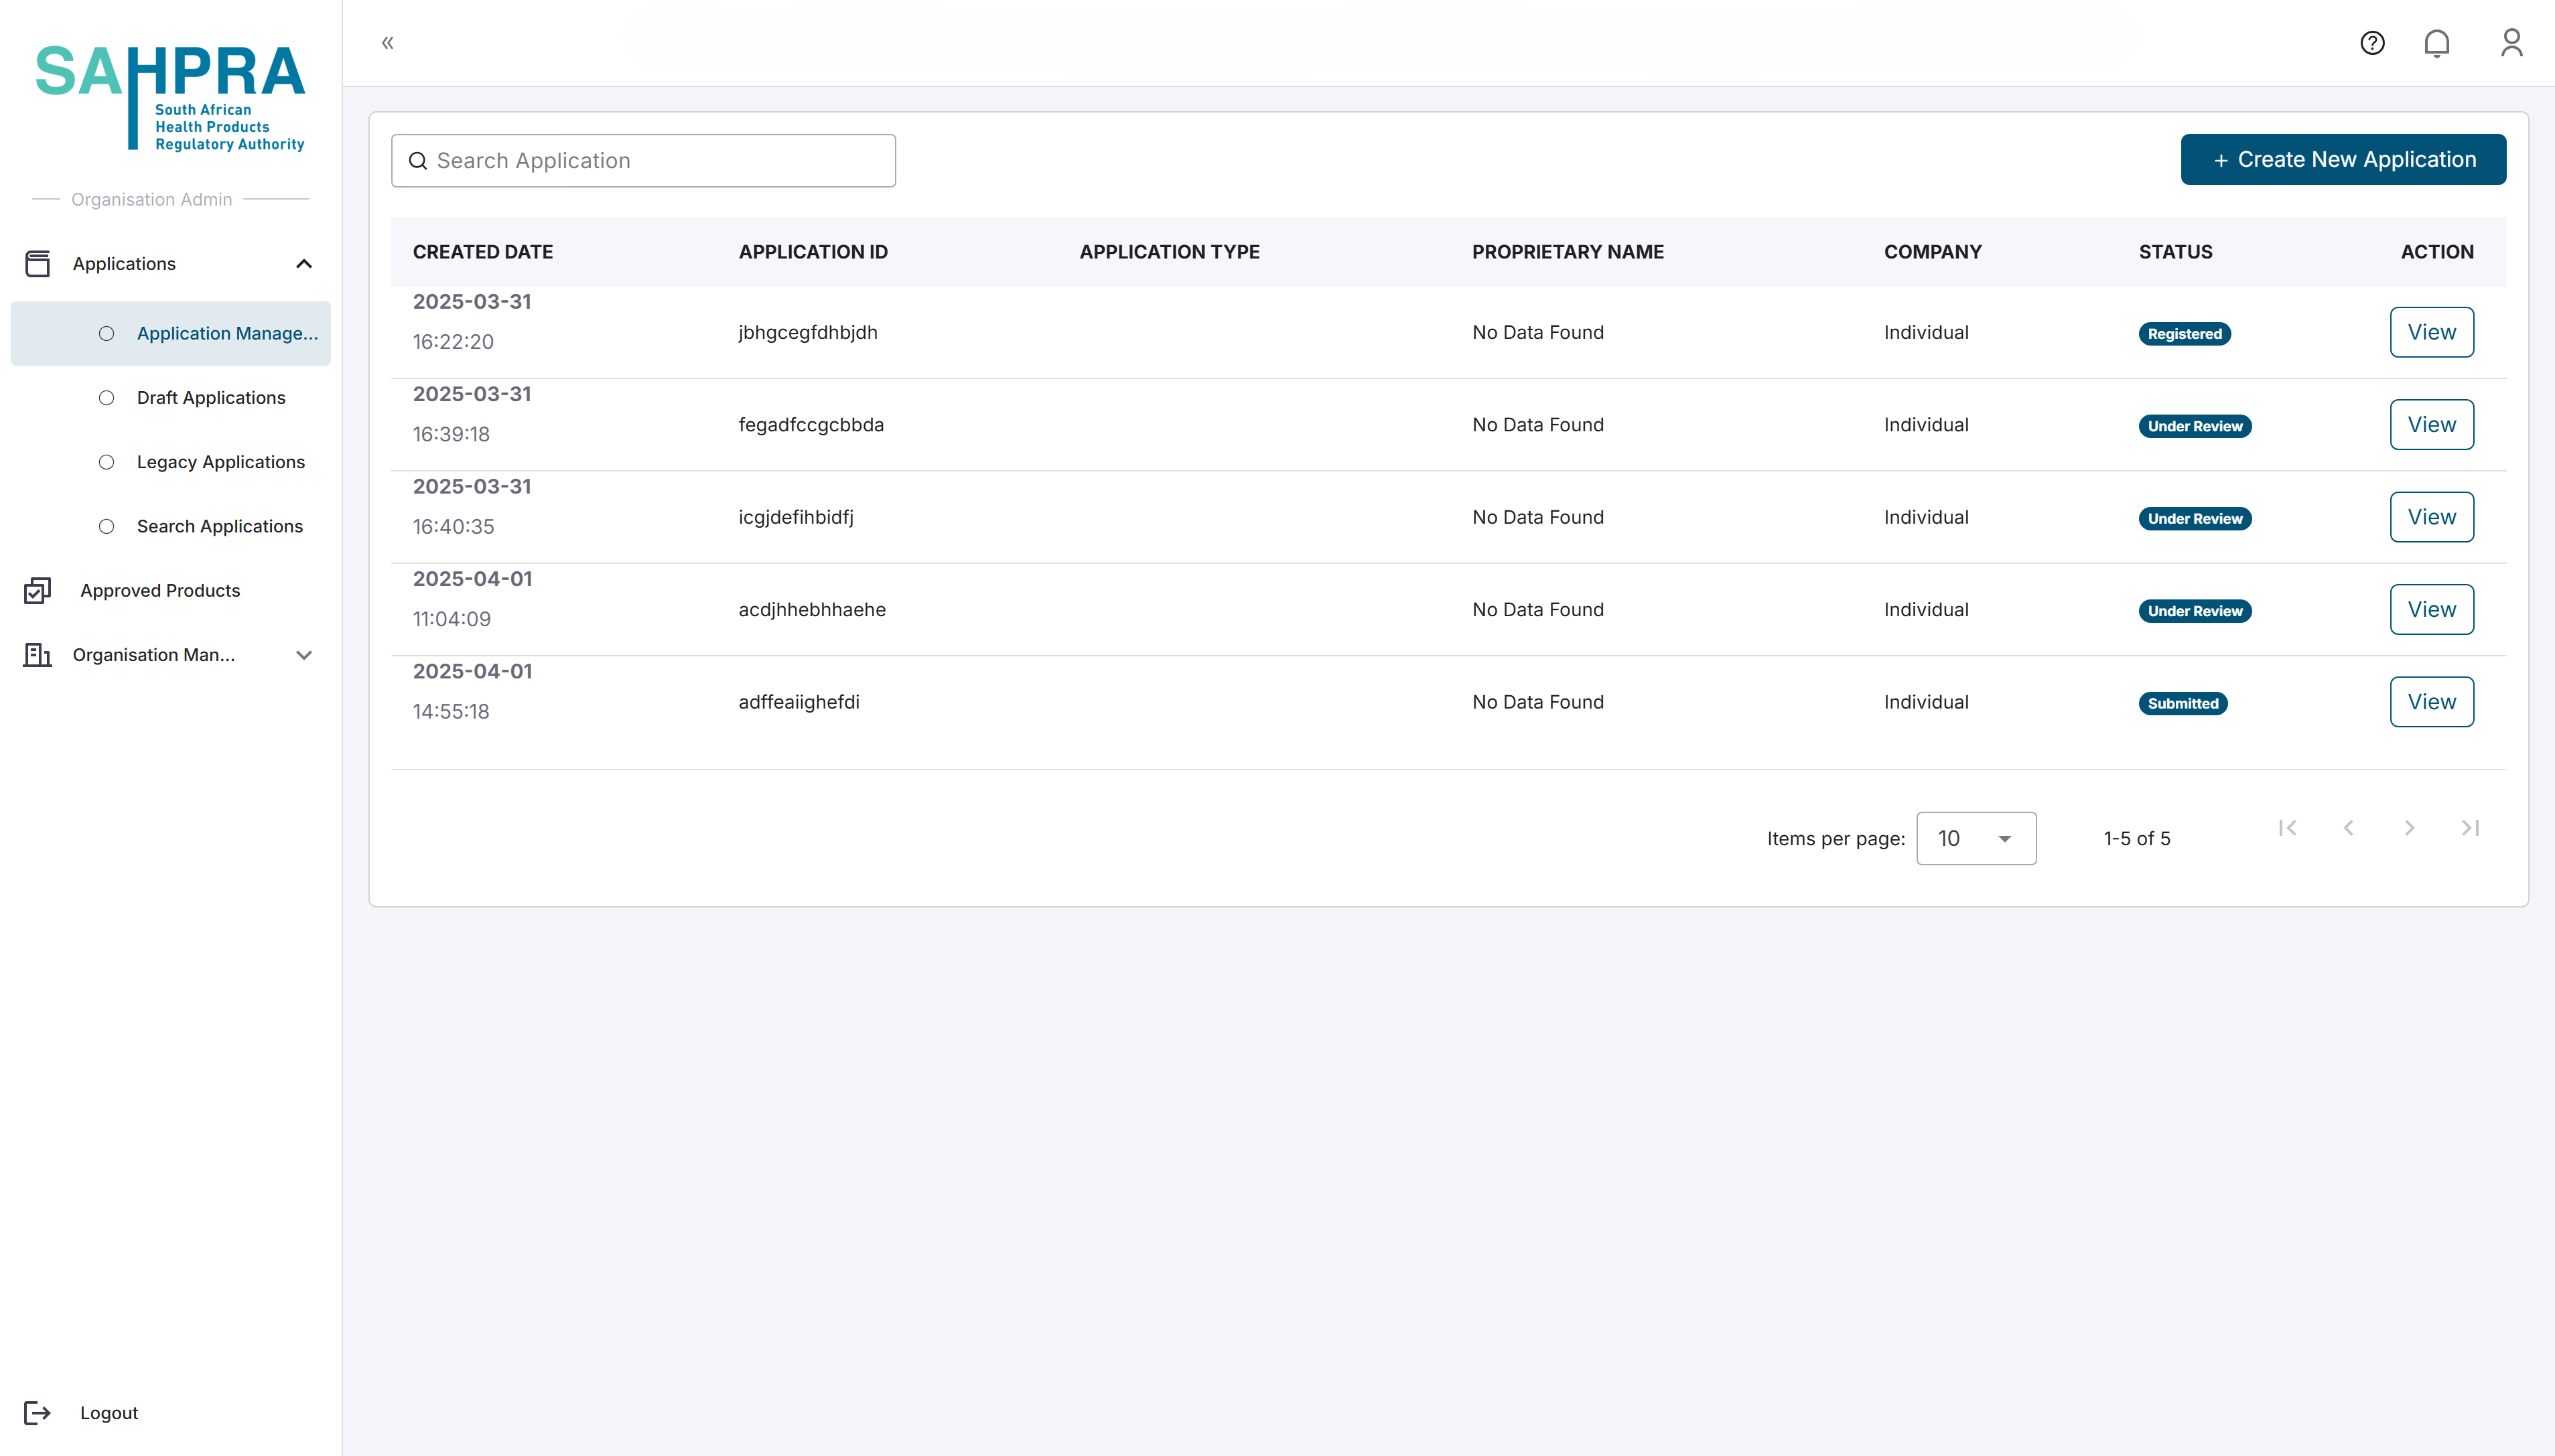
Step 1: Create New Application
- Log in to the SAHPRA portal.
- From the Applications Dashboard, click the “Create New Application” button.
Step 2: Select Application Type
- Select “Section 21 Application” from the available application types.
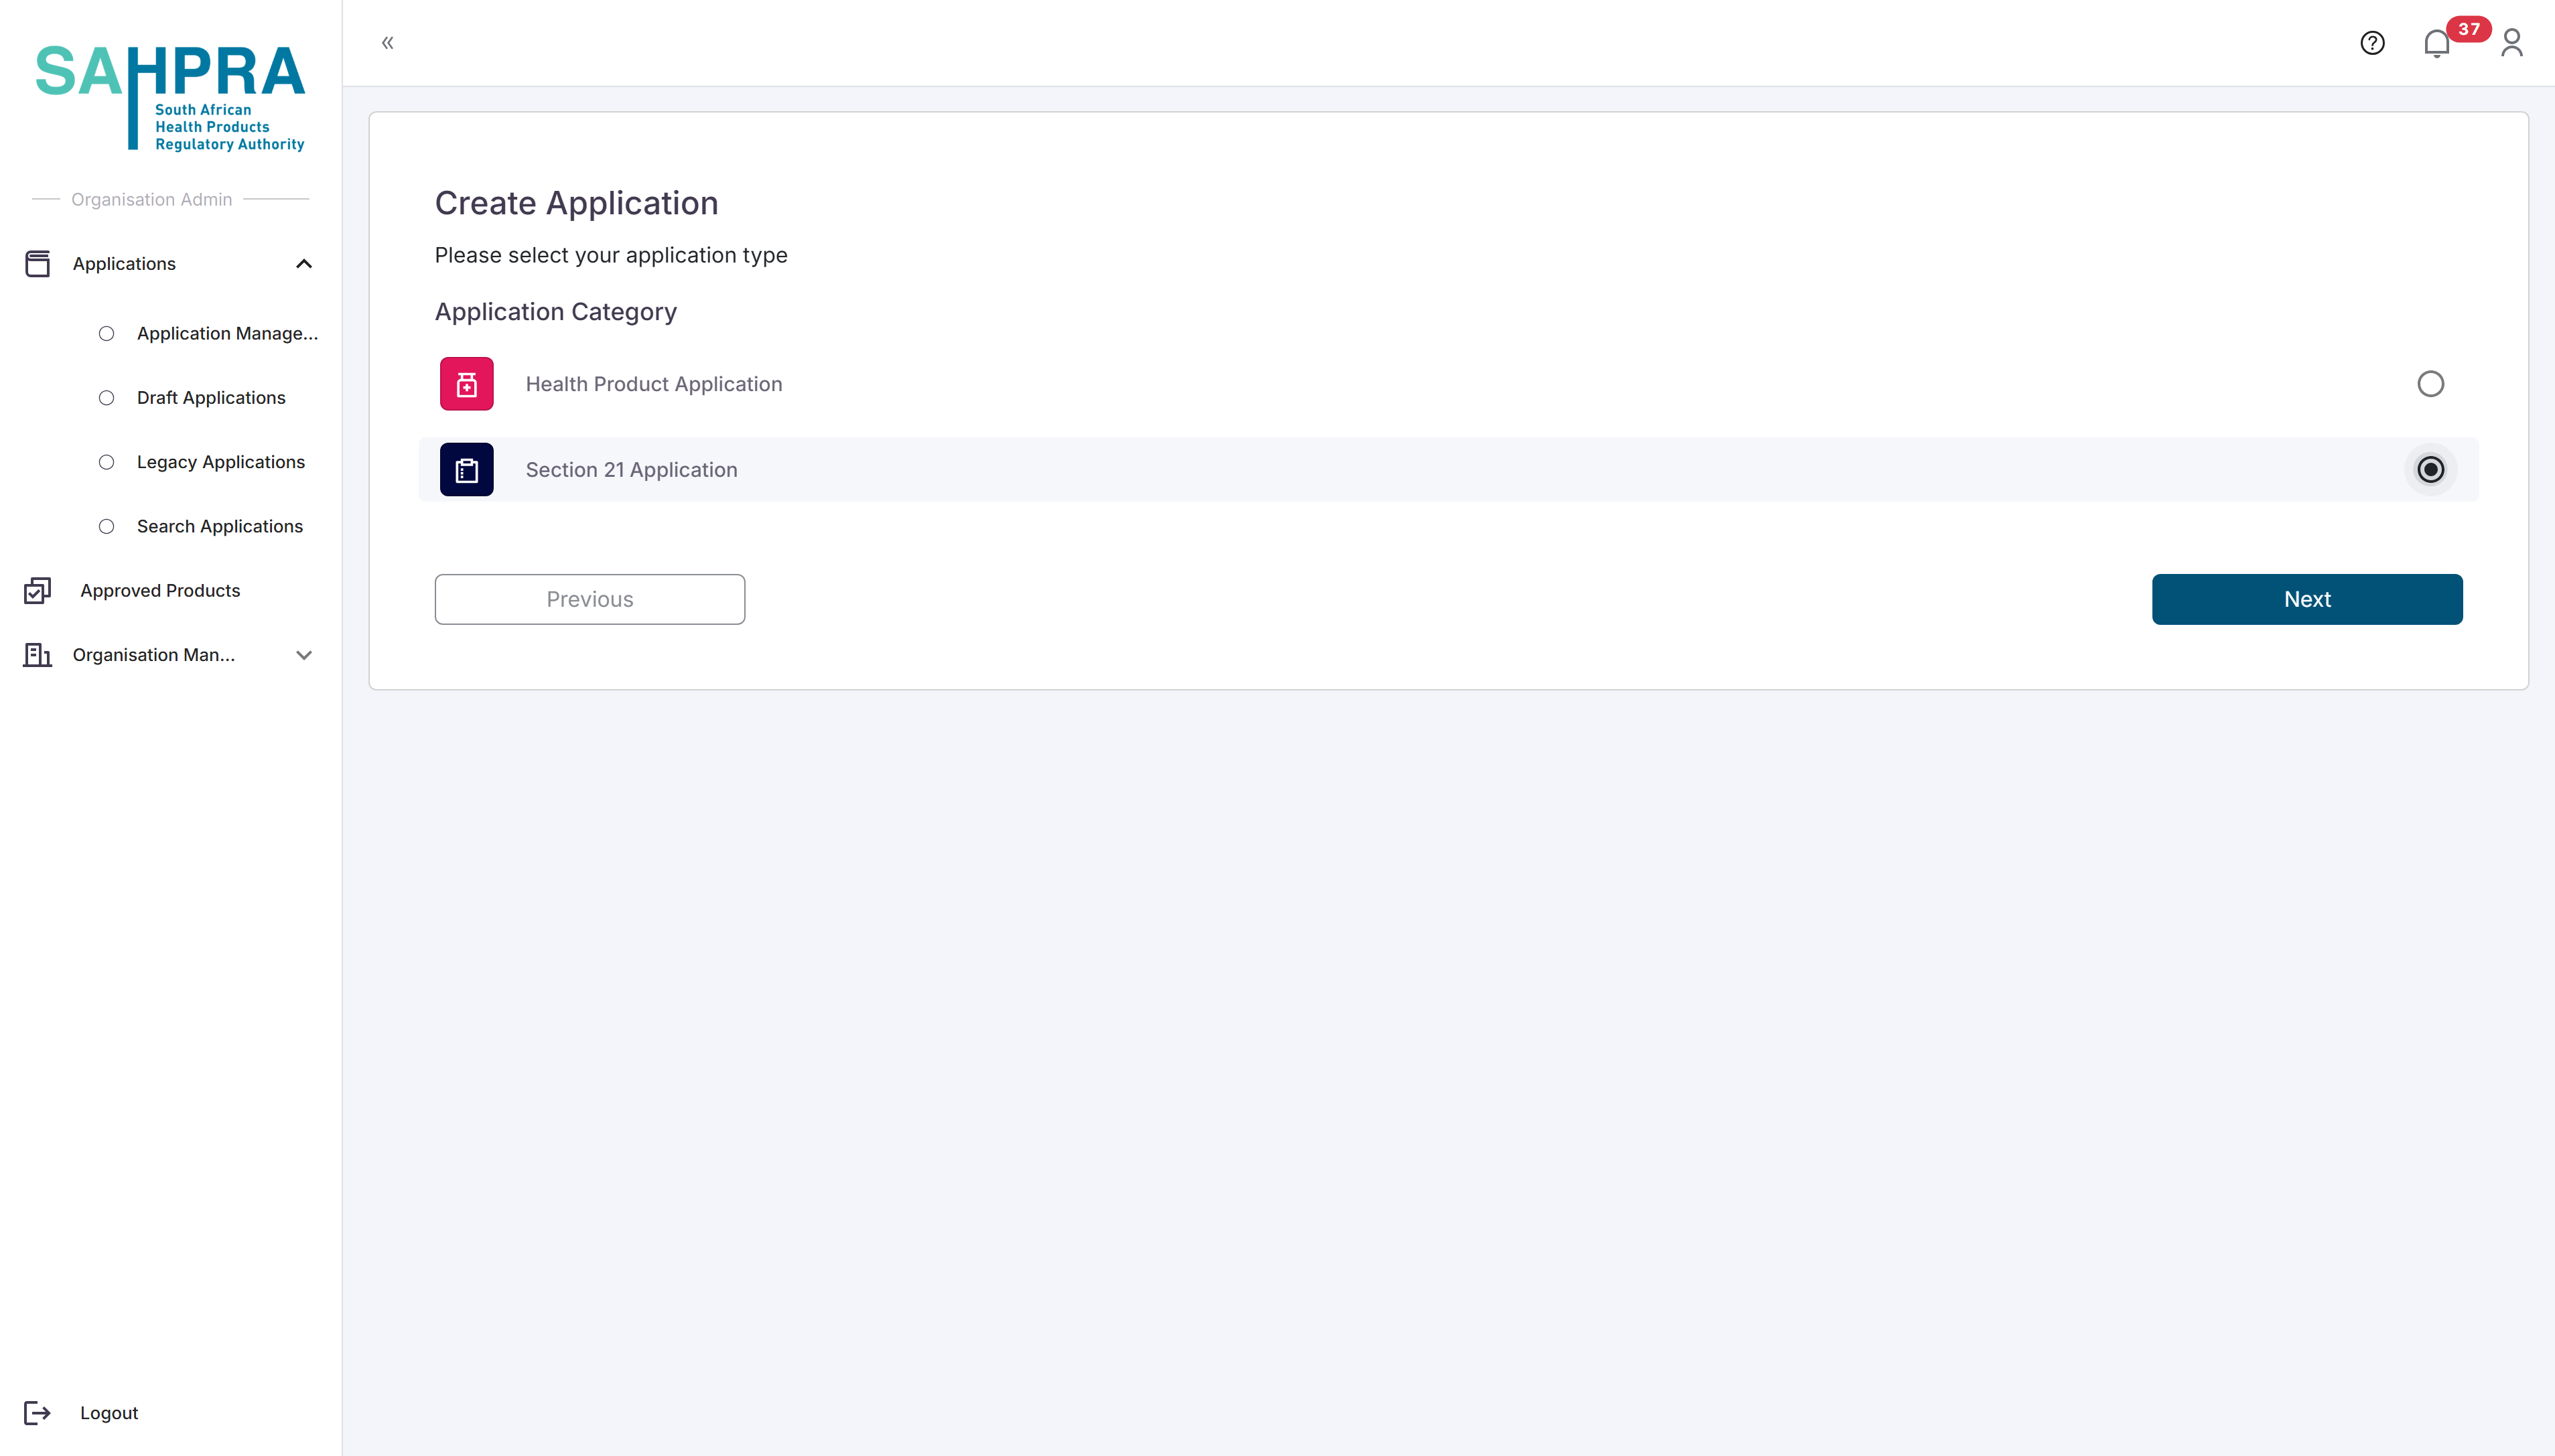
- Click “Next” to proceed.
Step 3: Select Application Subtype and Category
Select “Section 21 Application” as the application subtype.
Select the appropriate medicine category (e.g., “Category A Medicine”).
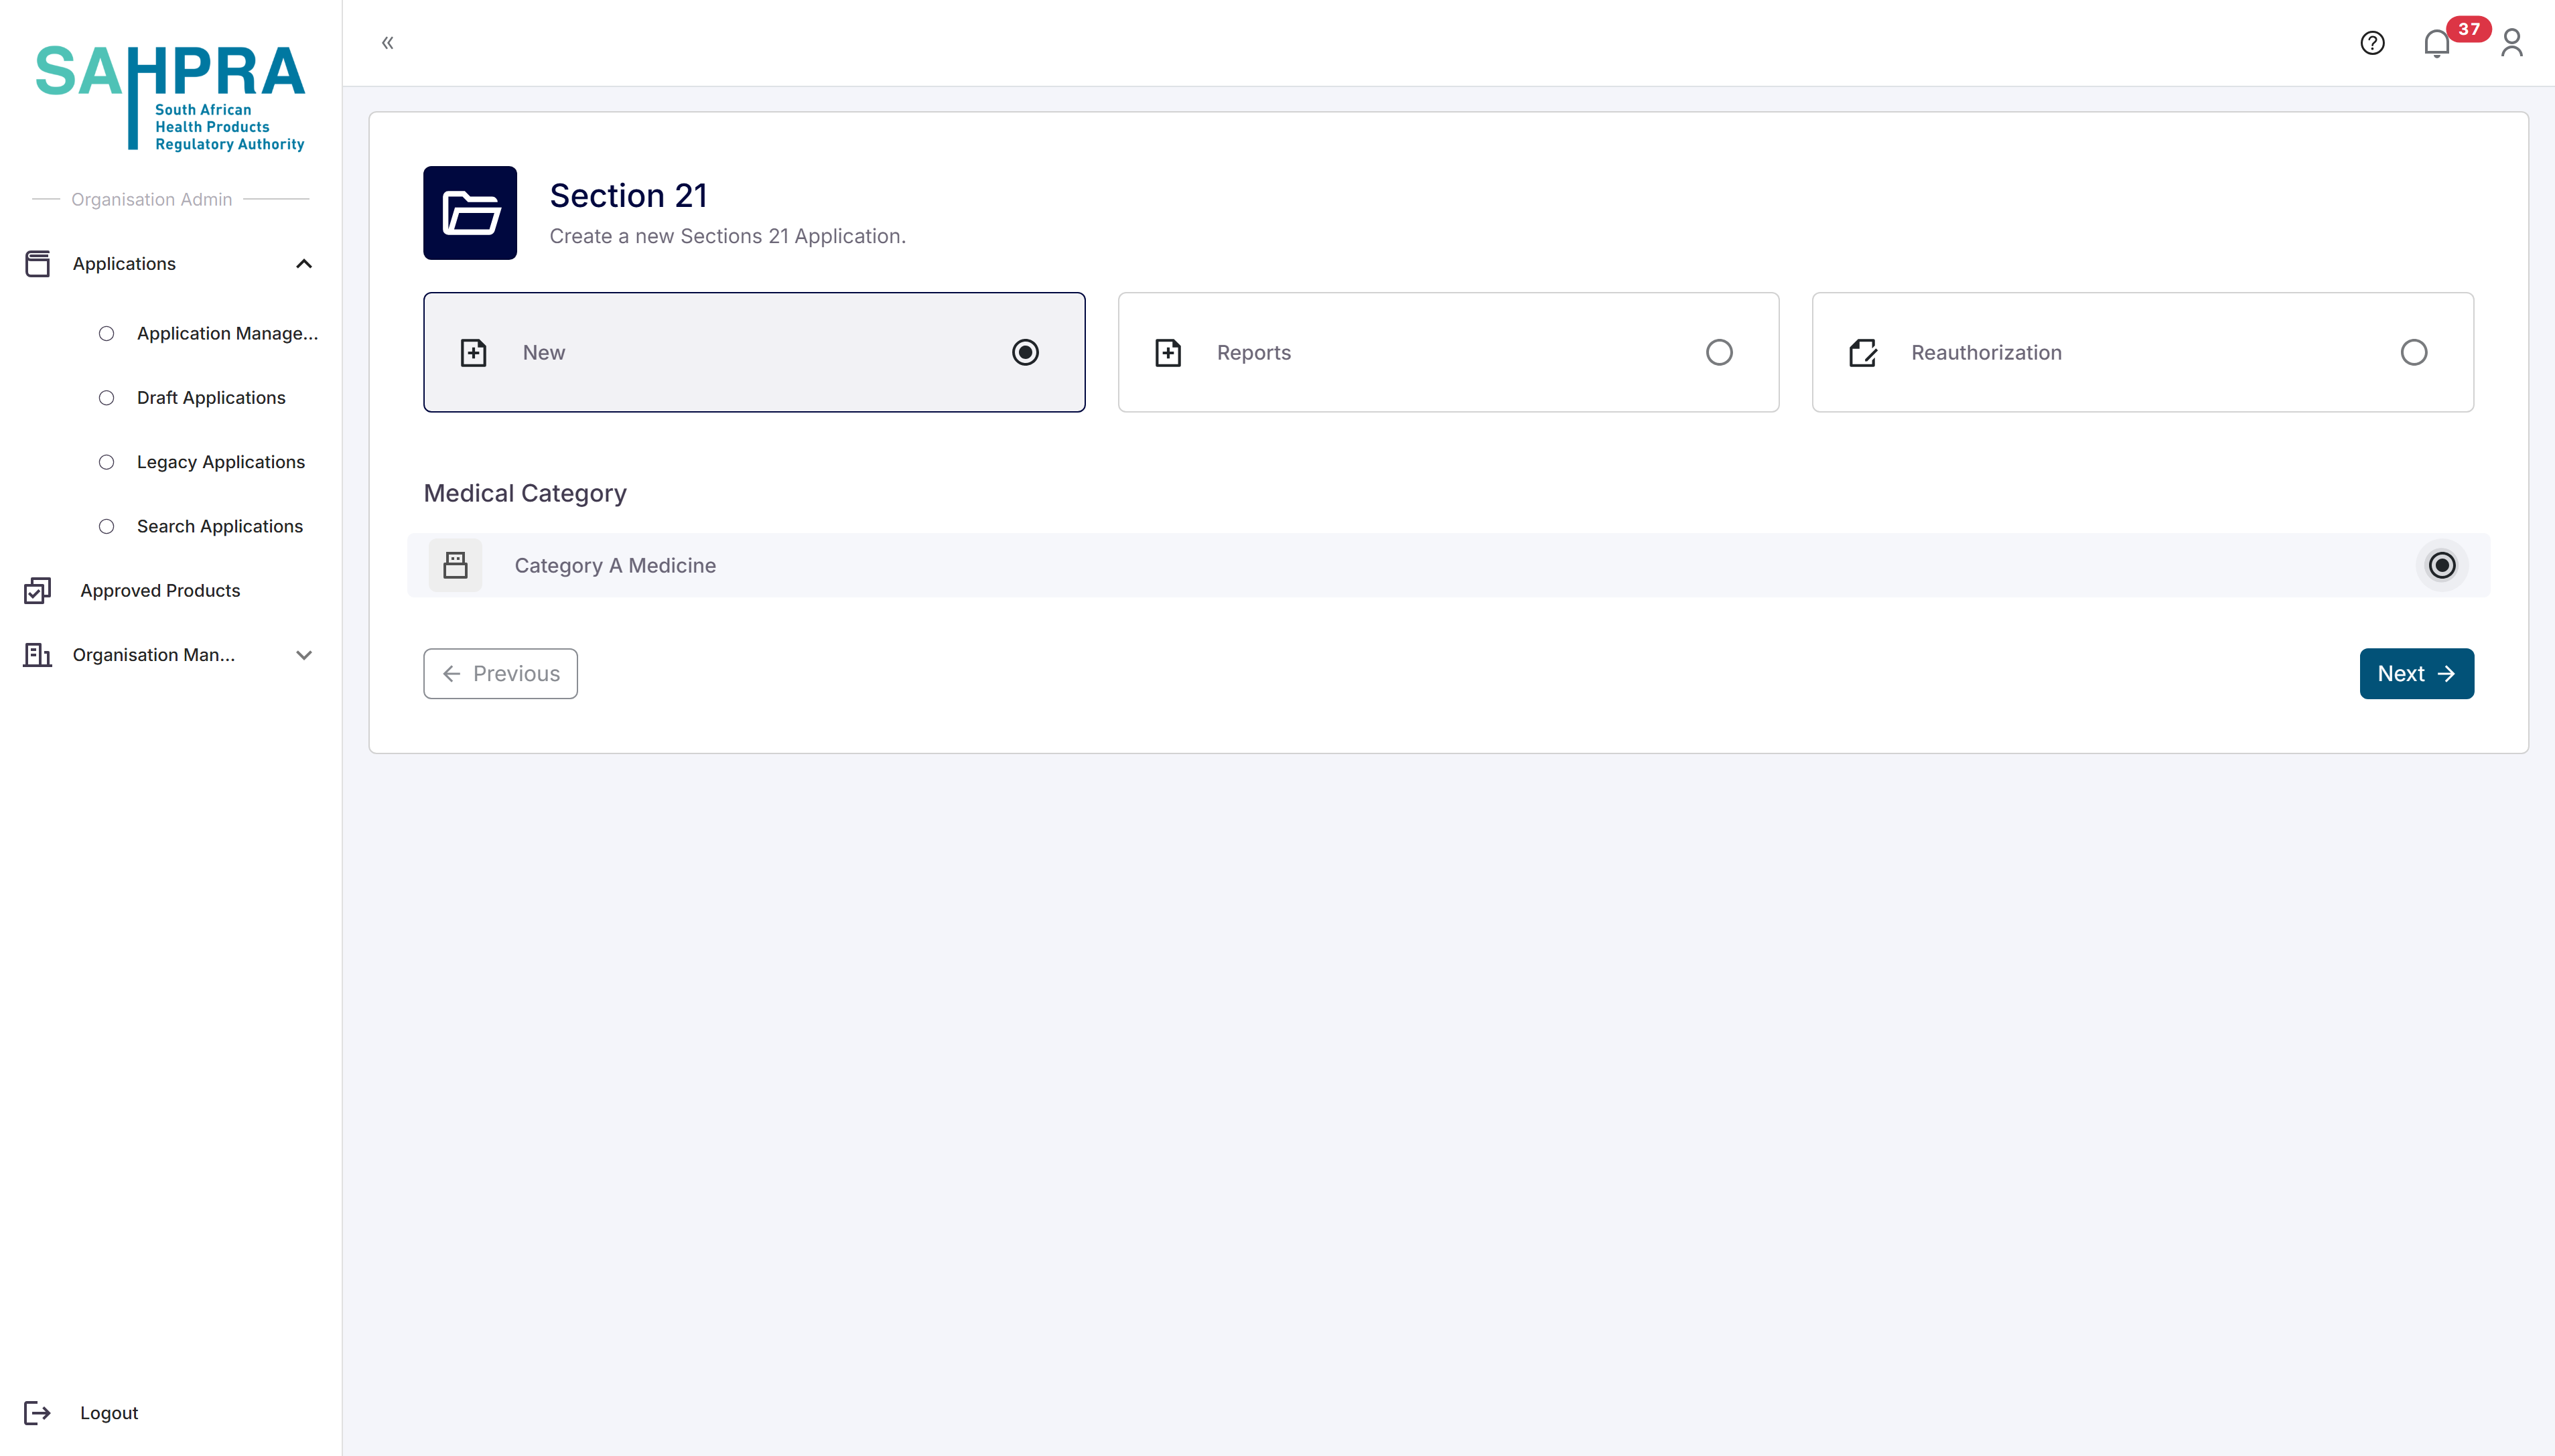
- Click “Next” to proceed.
Step 4: Select Patient Type
- Select “Named Patient” as the patient type.
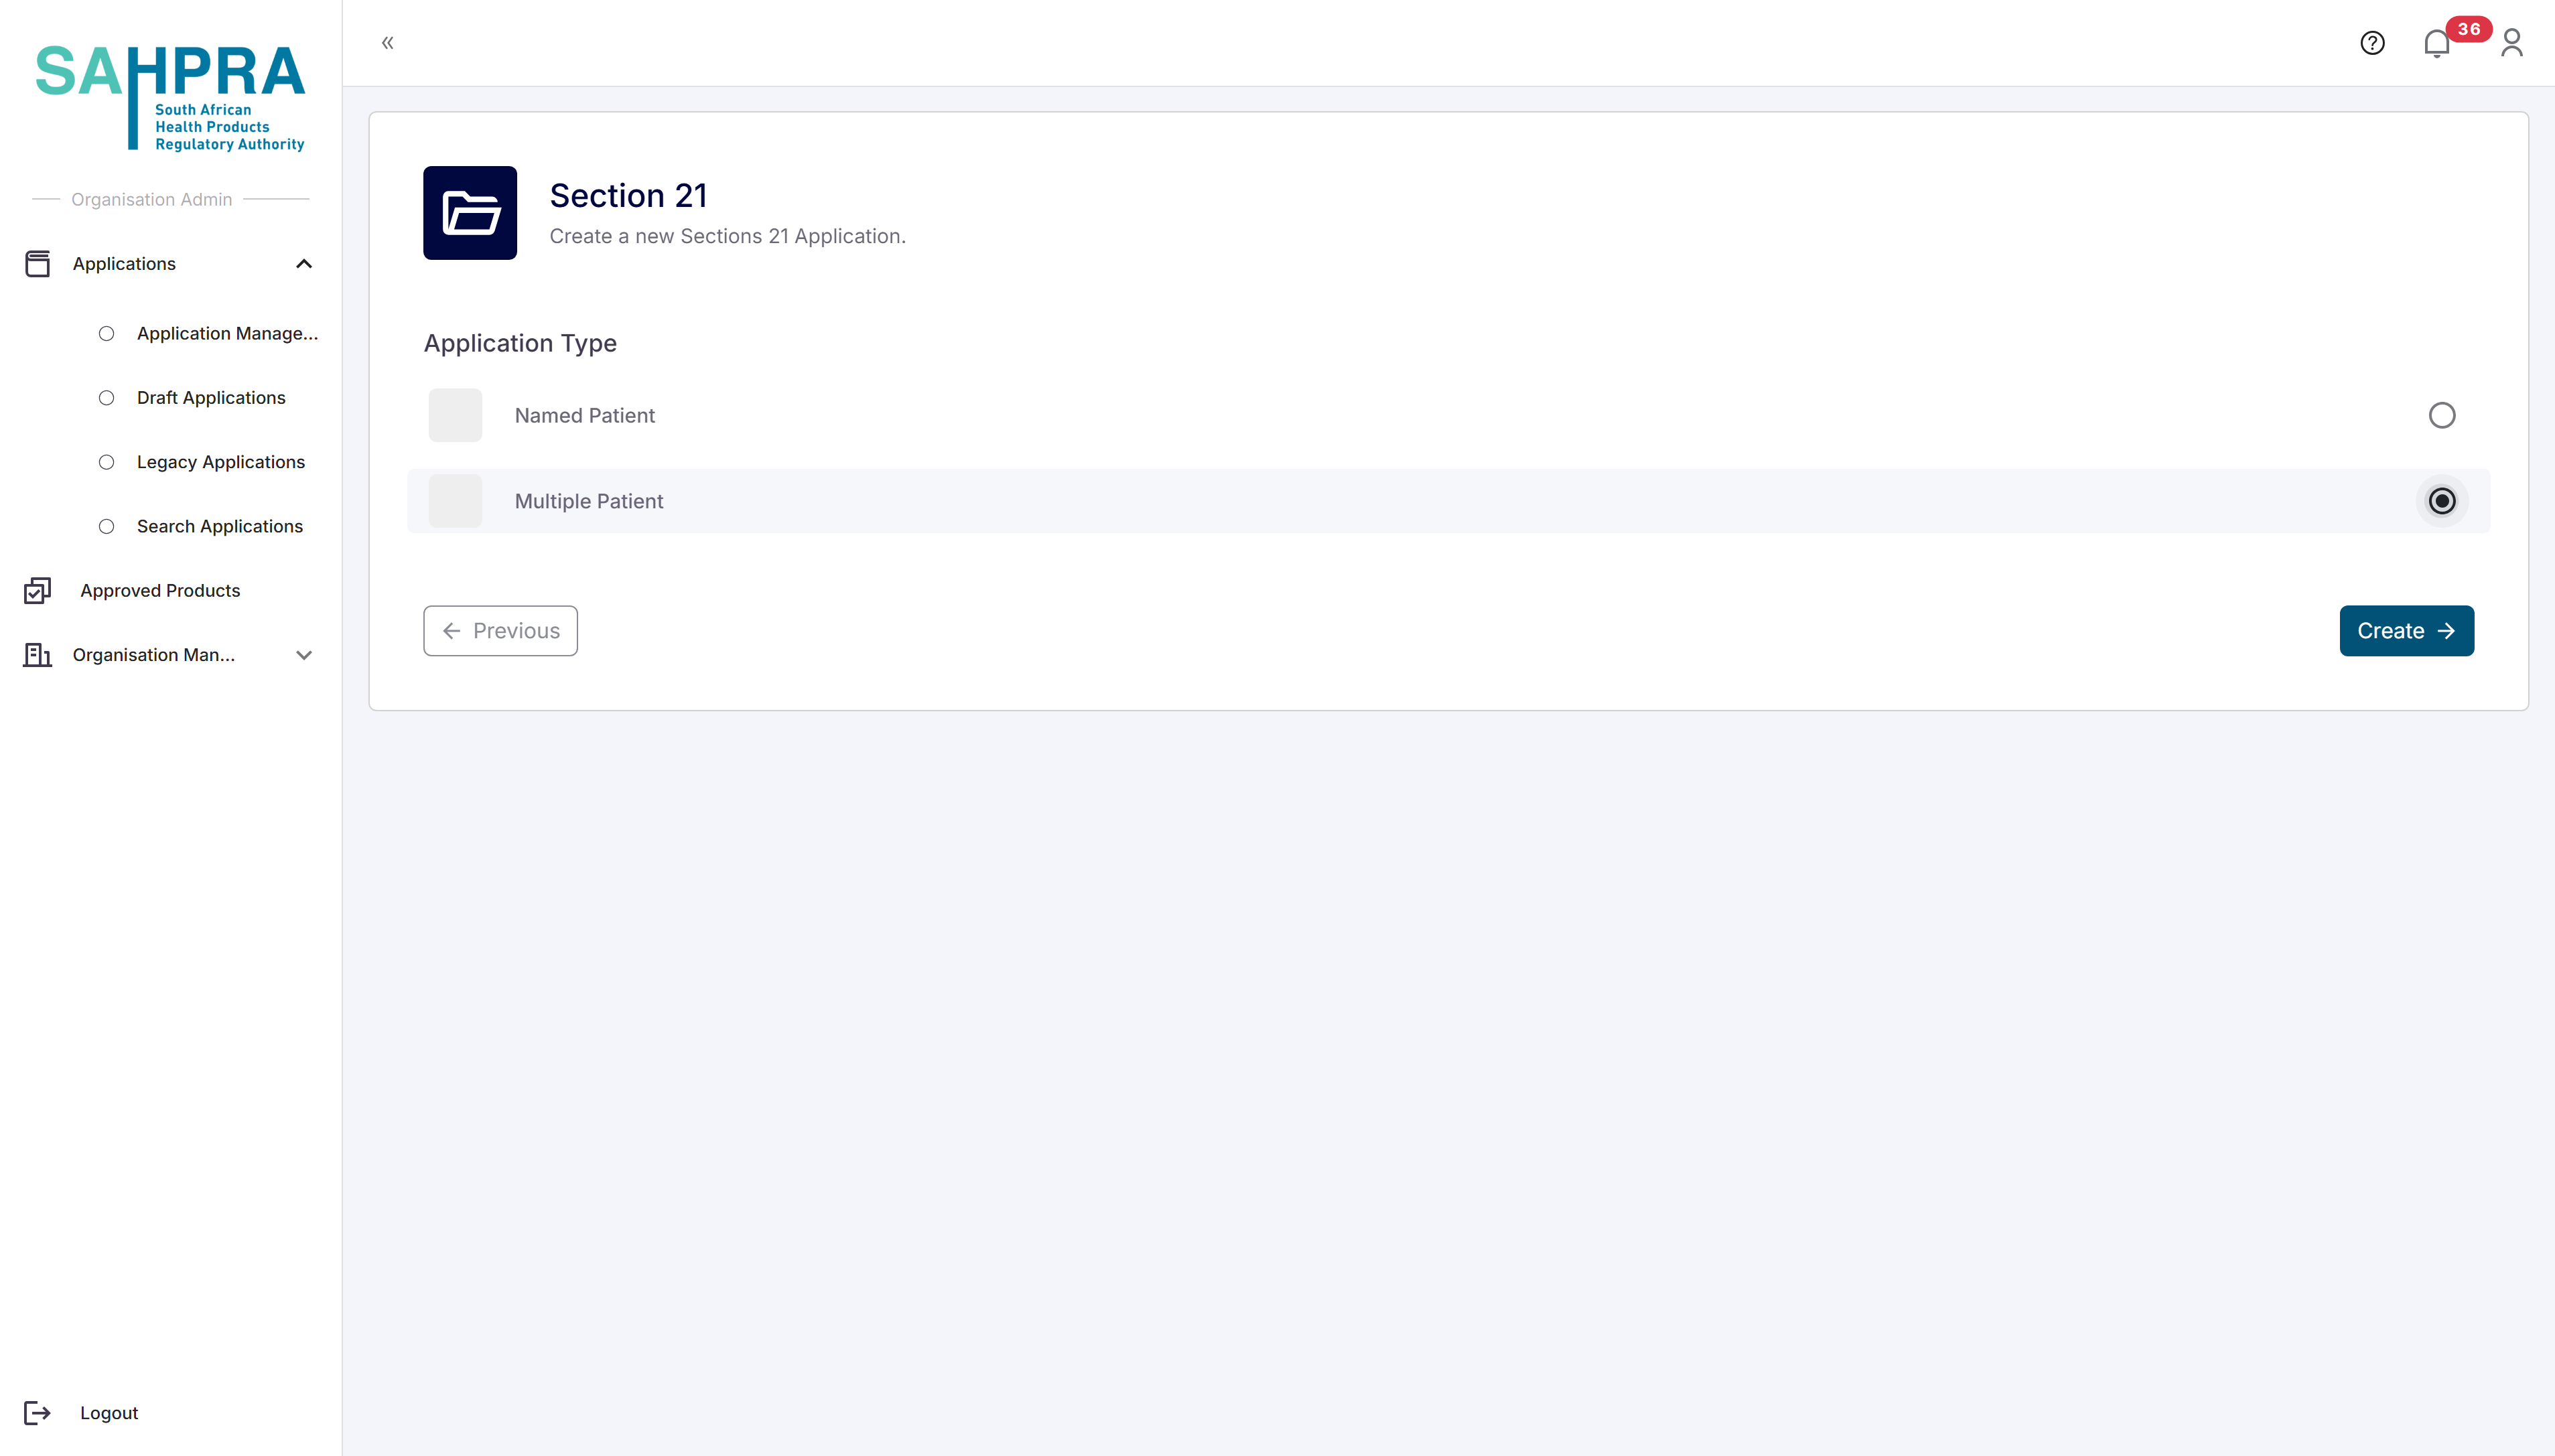
- Click “Create” to proceed.
Step 5: Fill in Applicant Details (Section A)
- Fill in the details of the applicant creating the Section 21 application
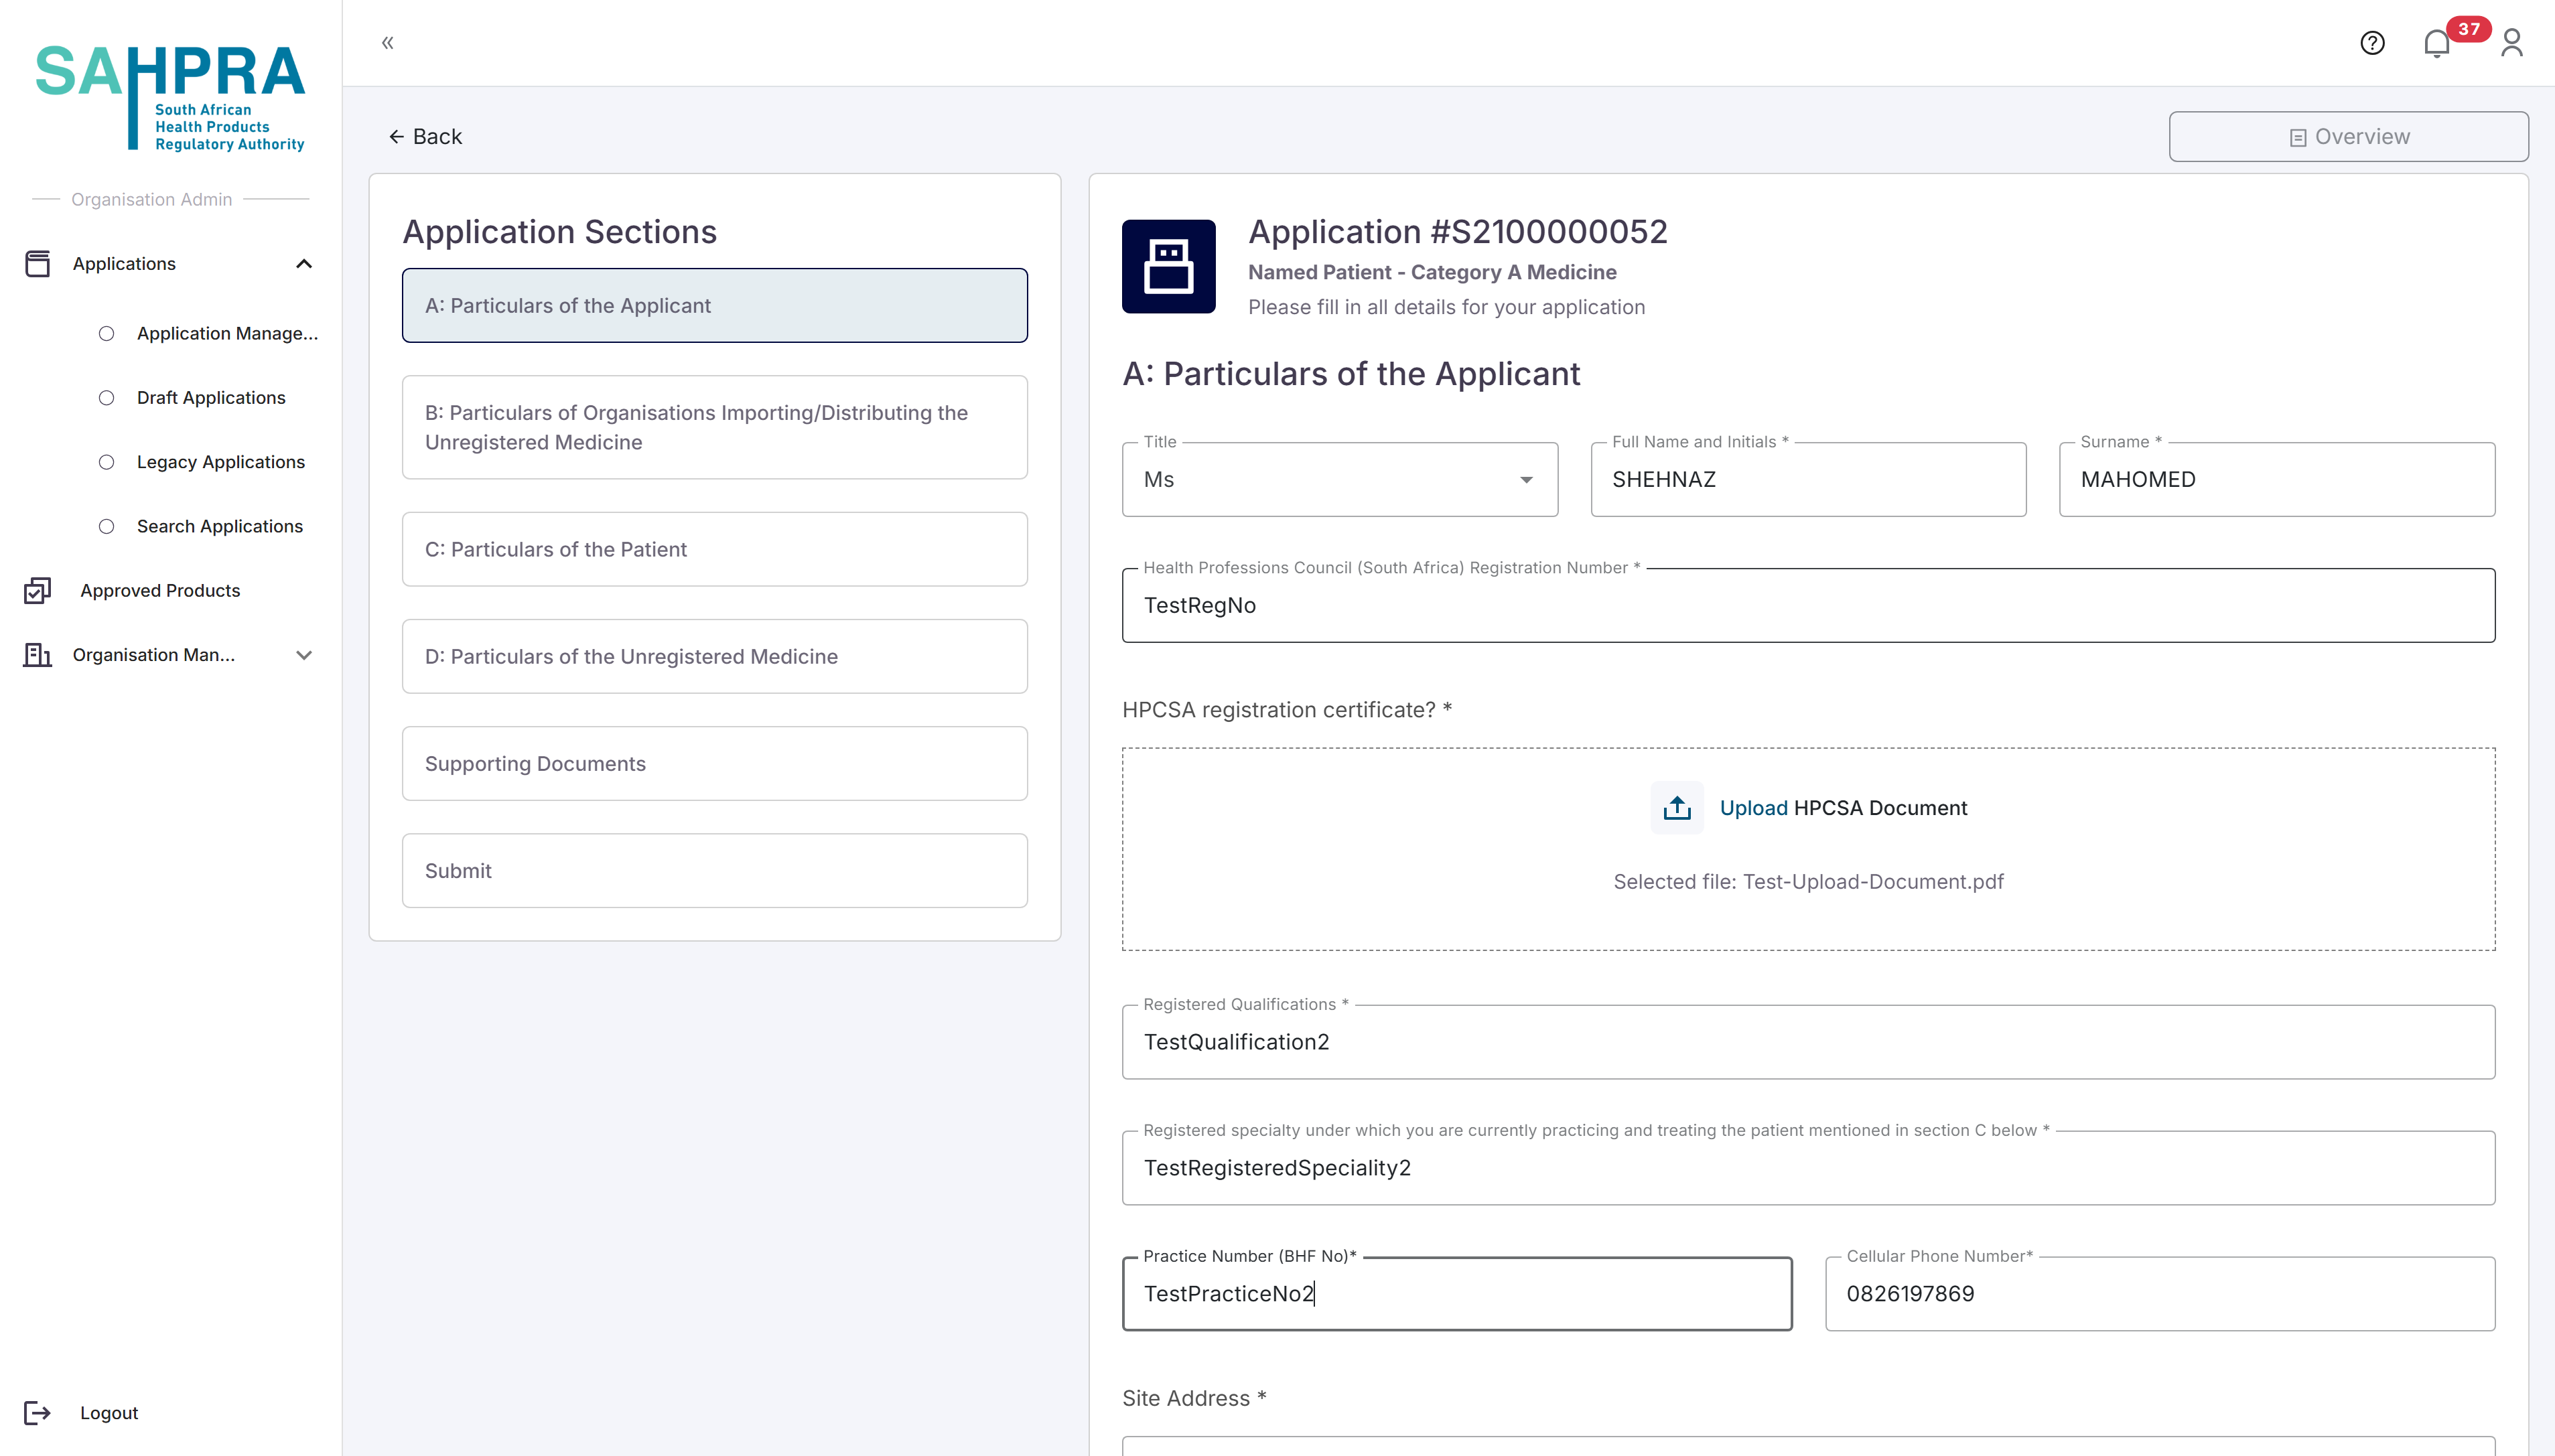
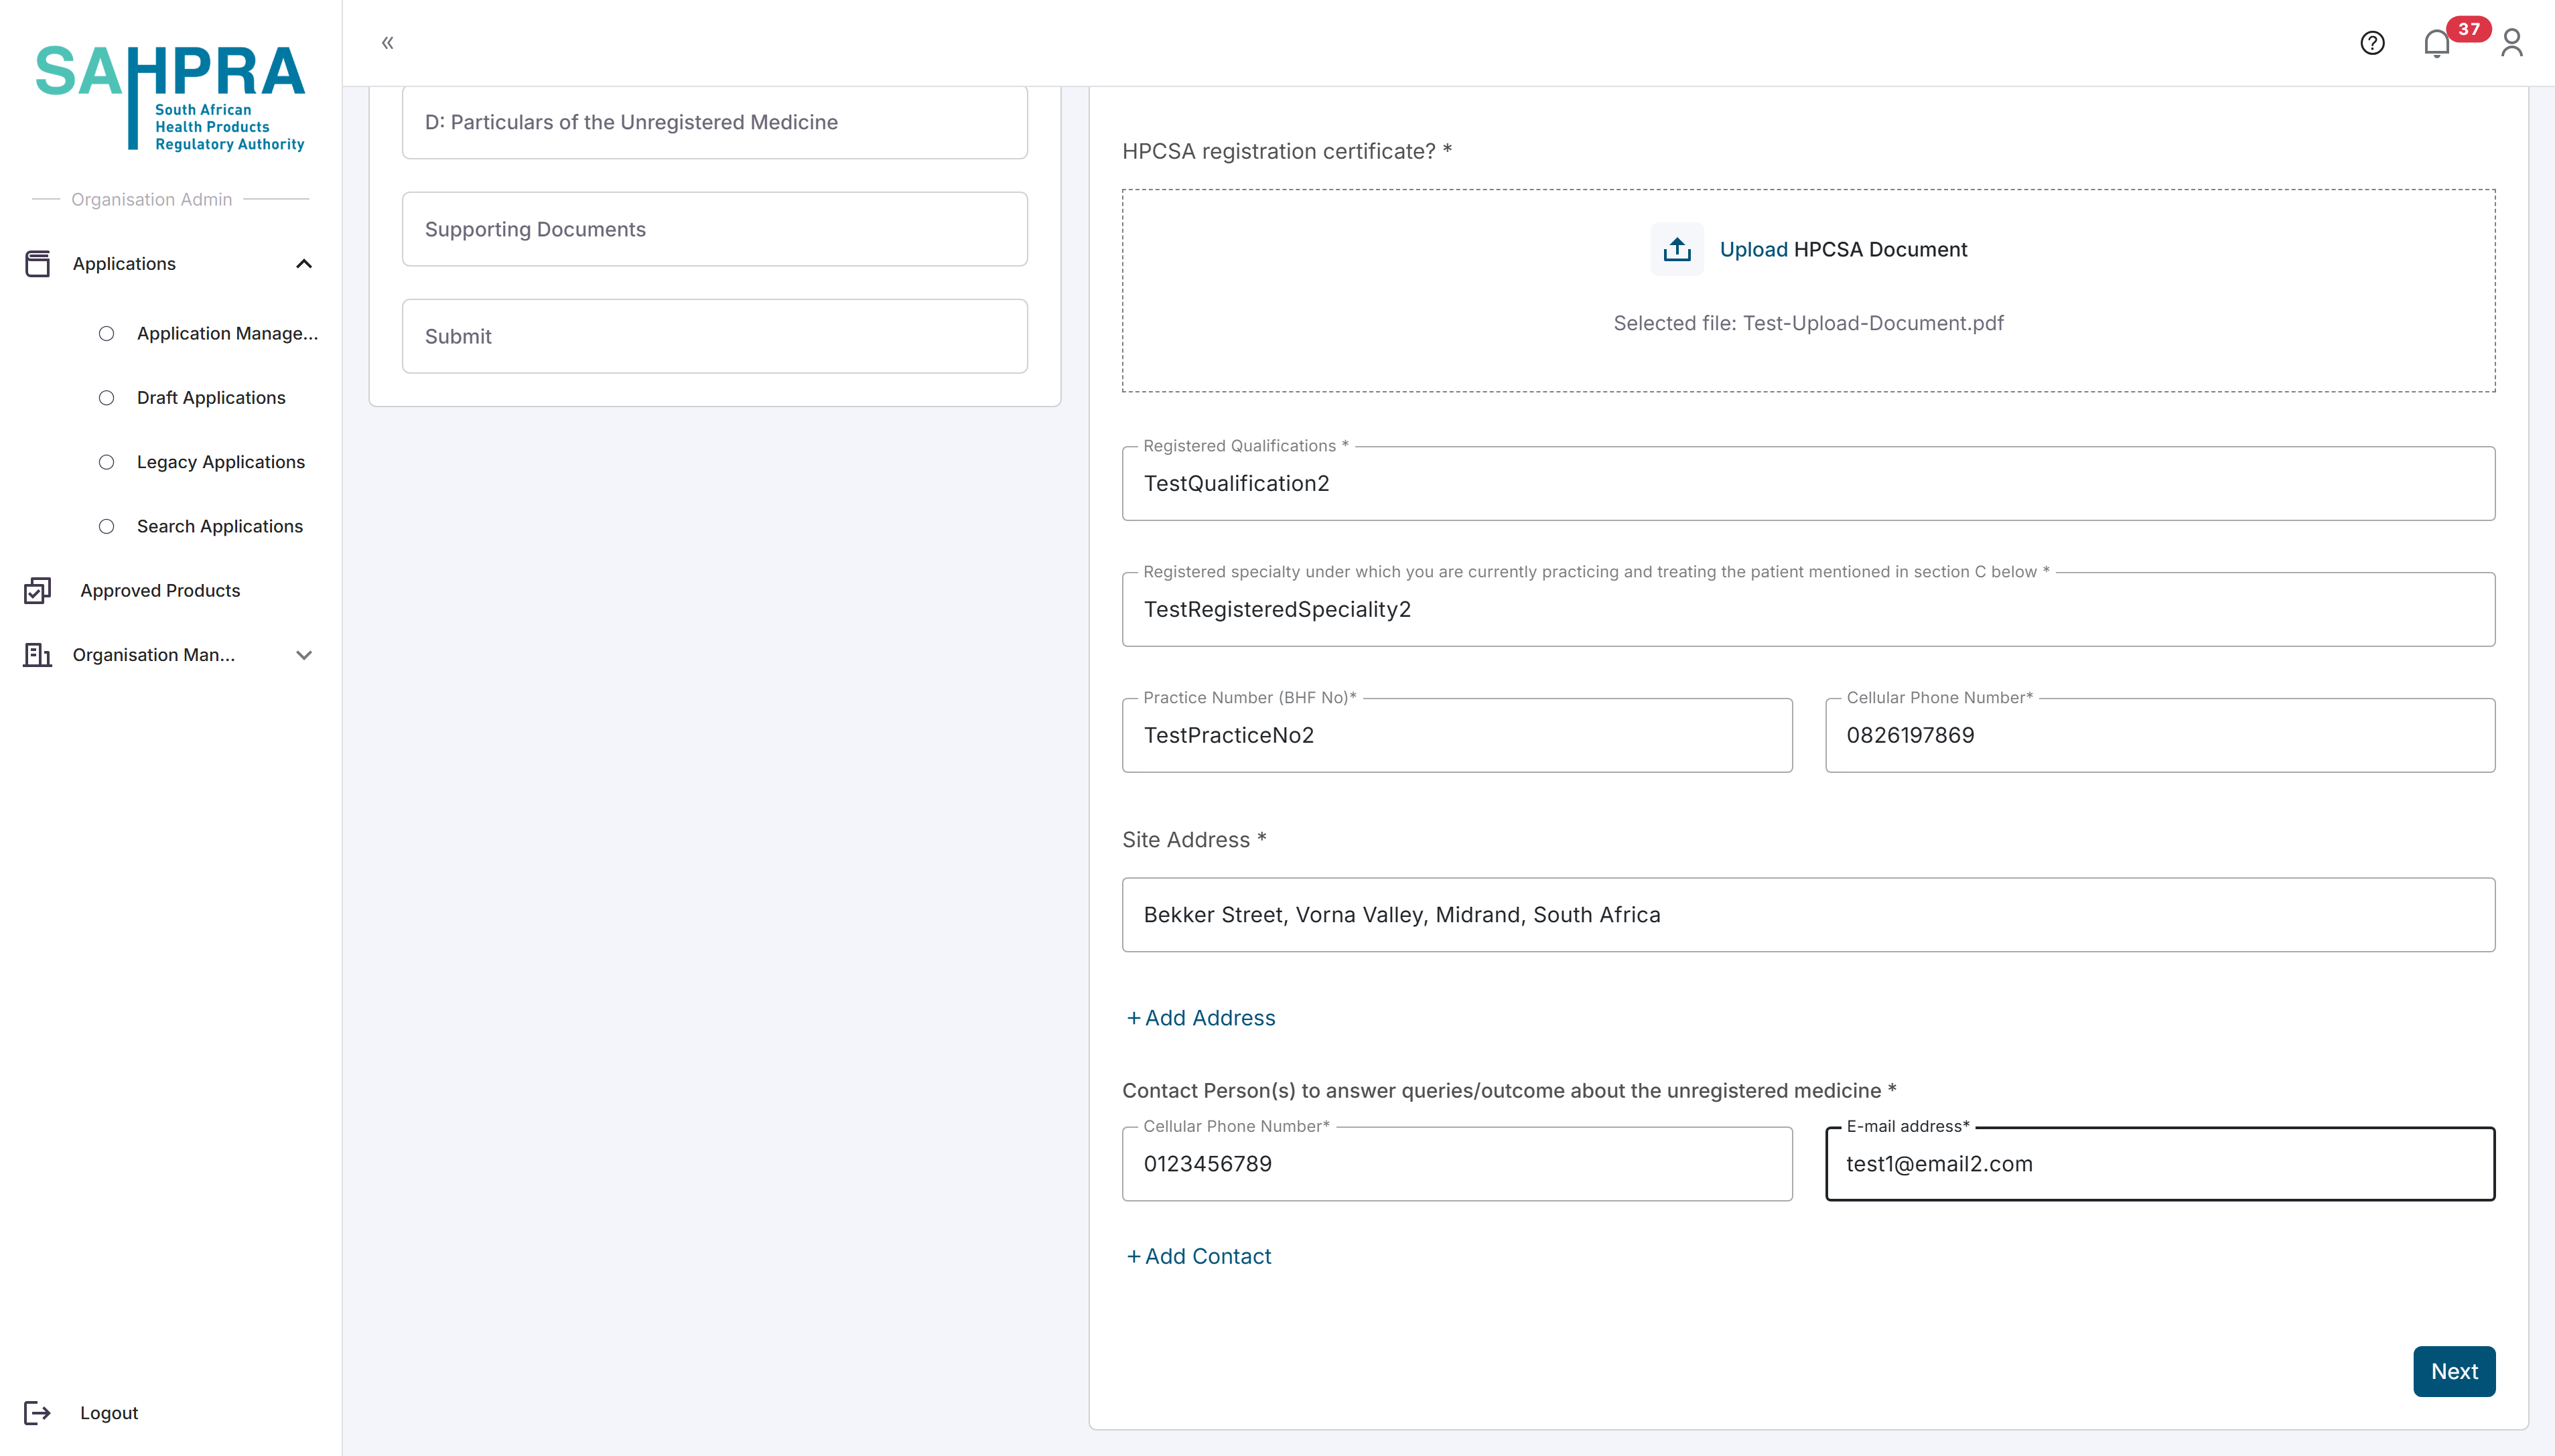
- Click “Next” to proceed to Section B.
Step 6: Fill in Importer Information (Section B)
Importer Details
- Fill in the required Importer and Distributor details
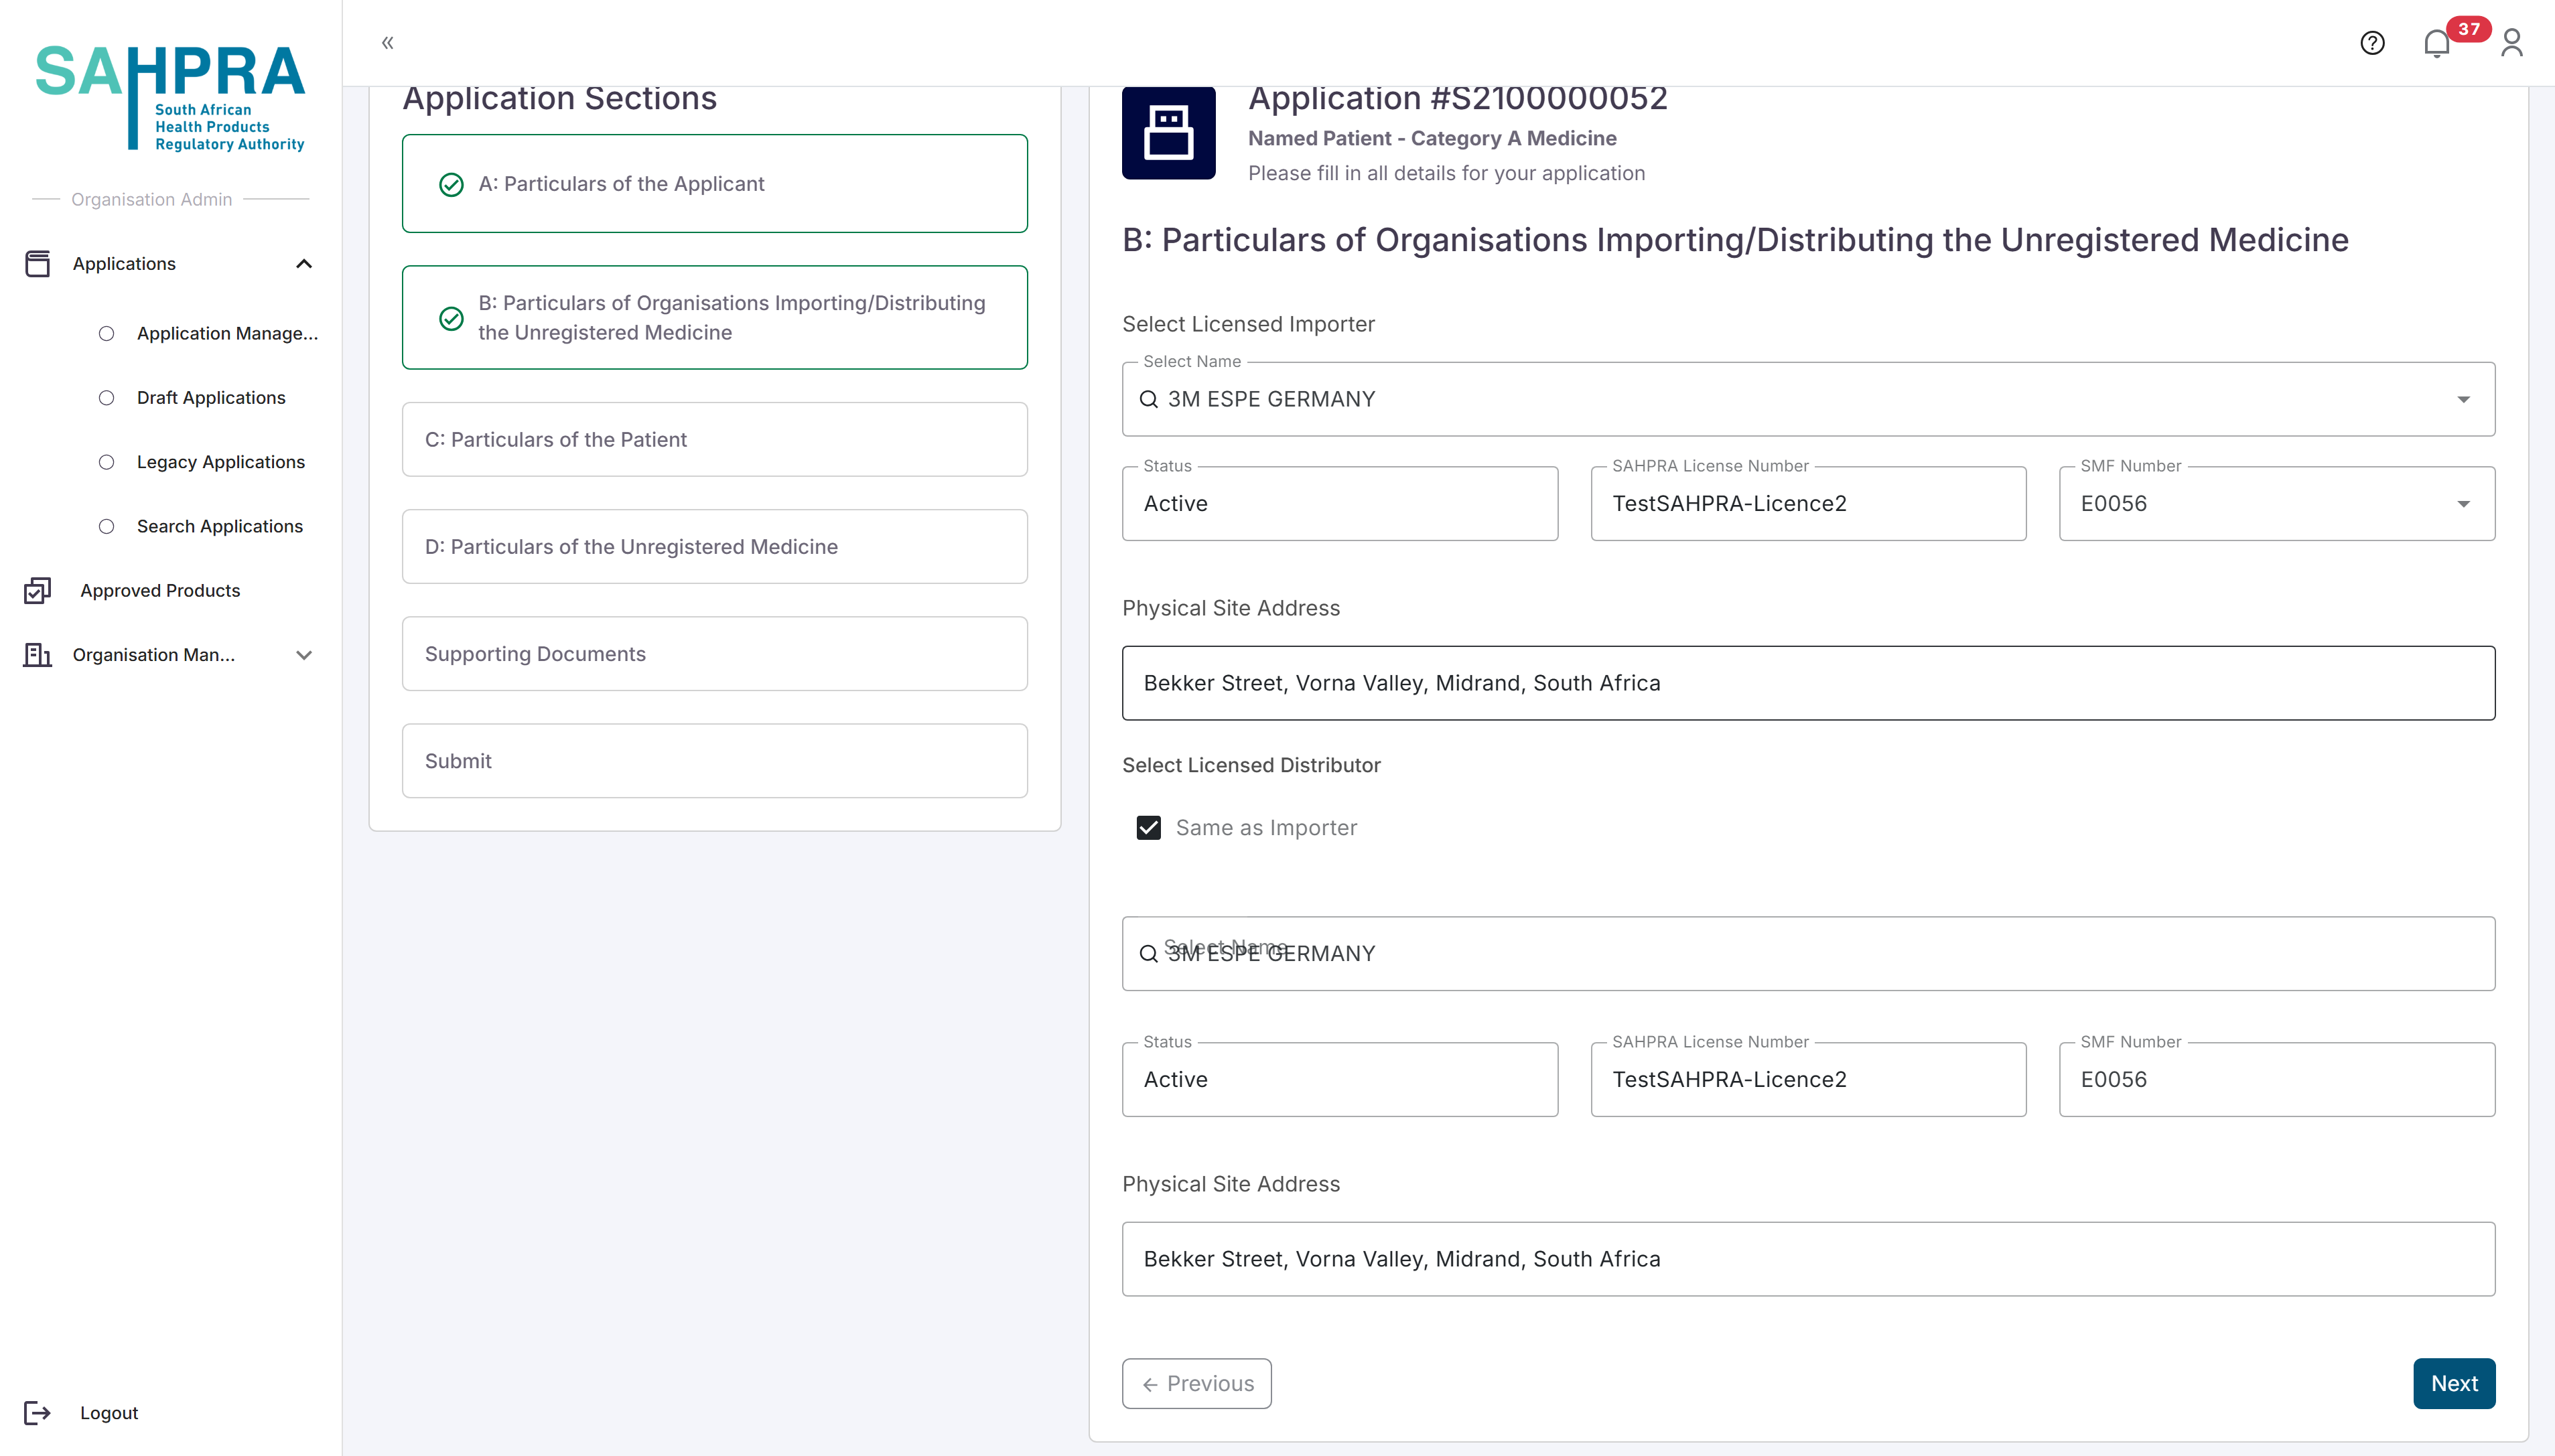
- Click “Next” to proceed to Section C.
Step 7: Fill in Patient Details (Section C)
Patient Identification
- Fill in the details of the patient requiring unregistered medicine.
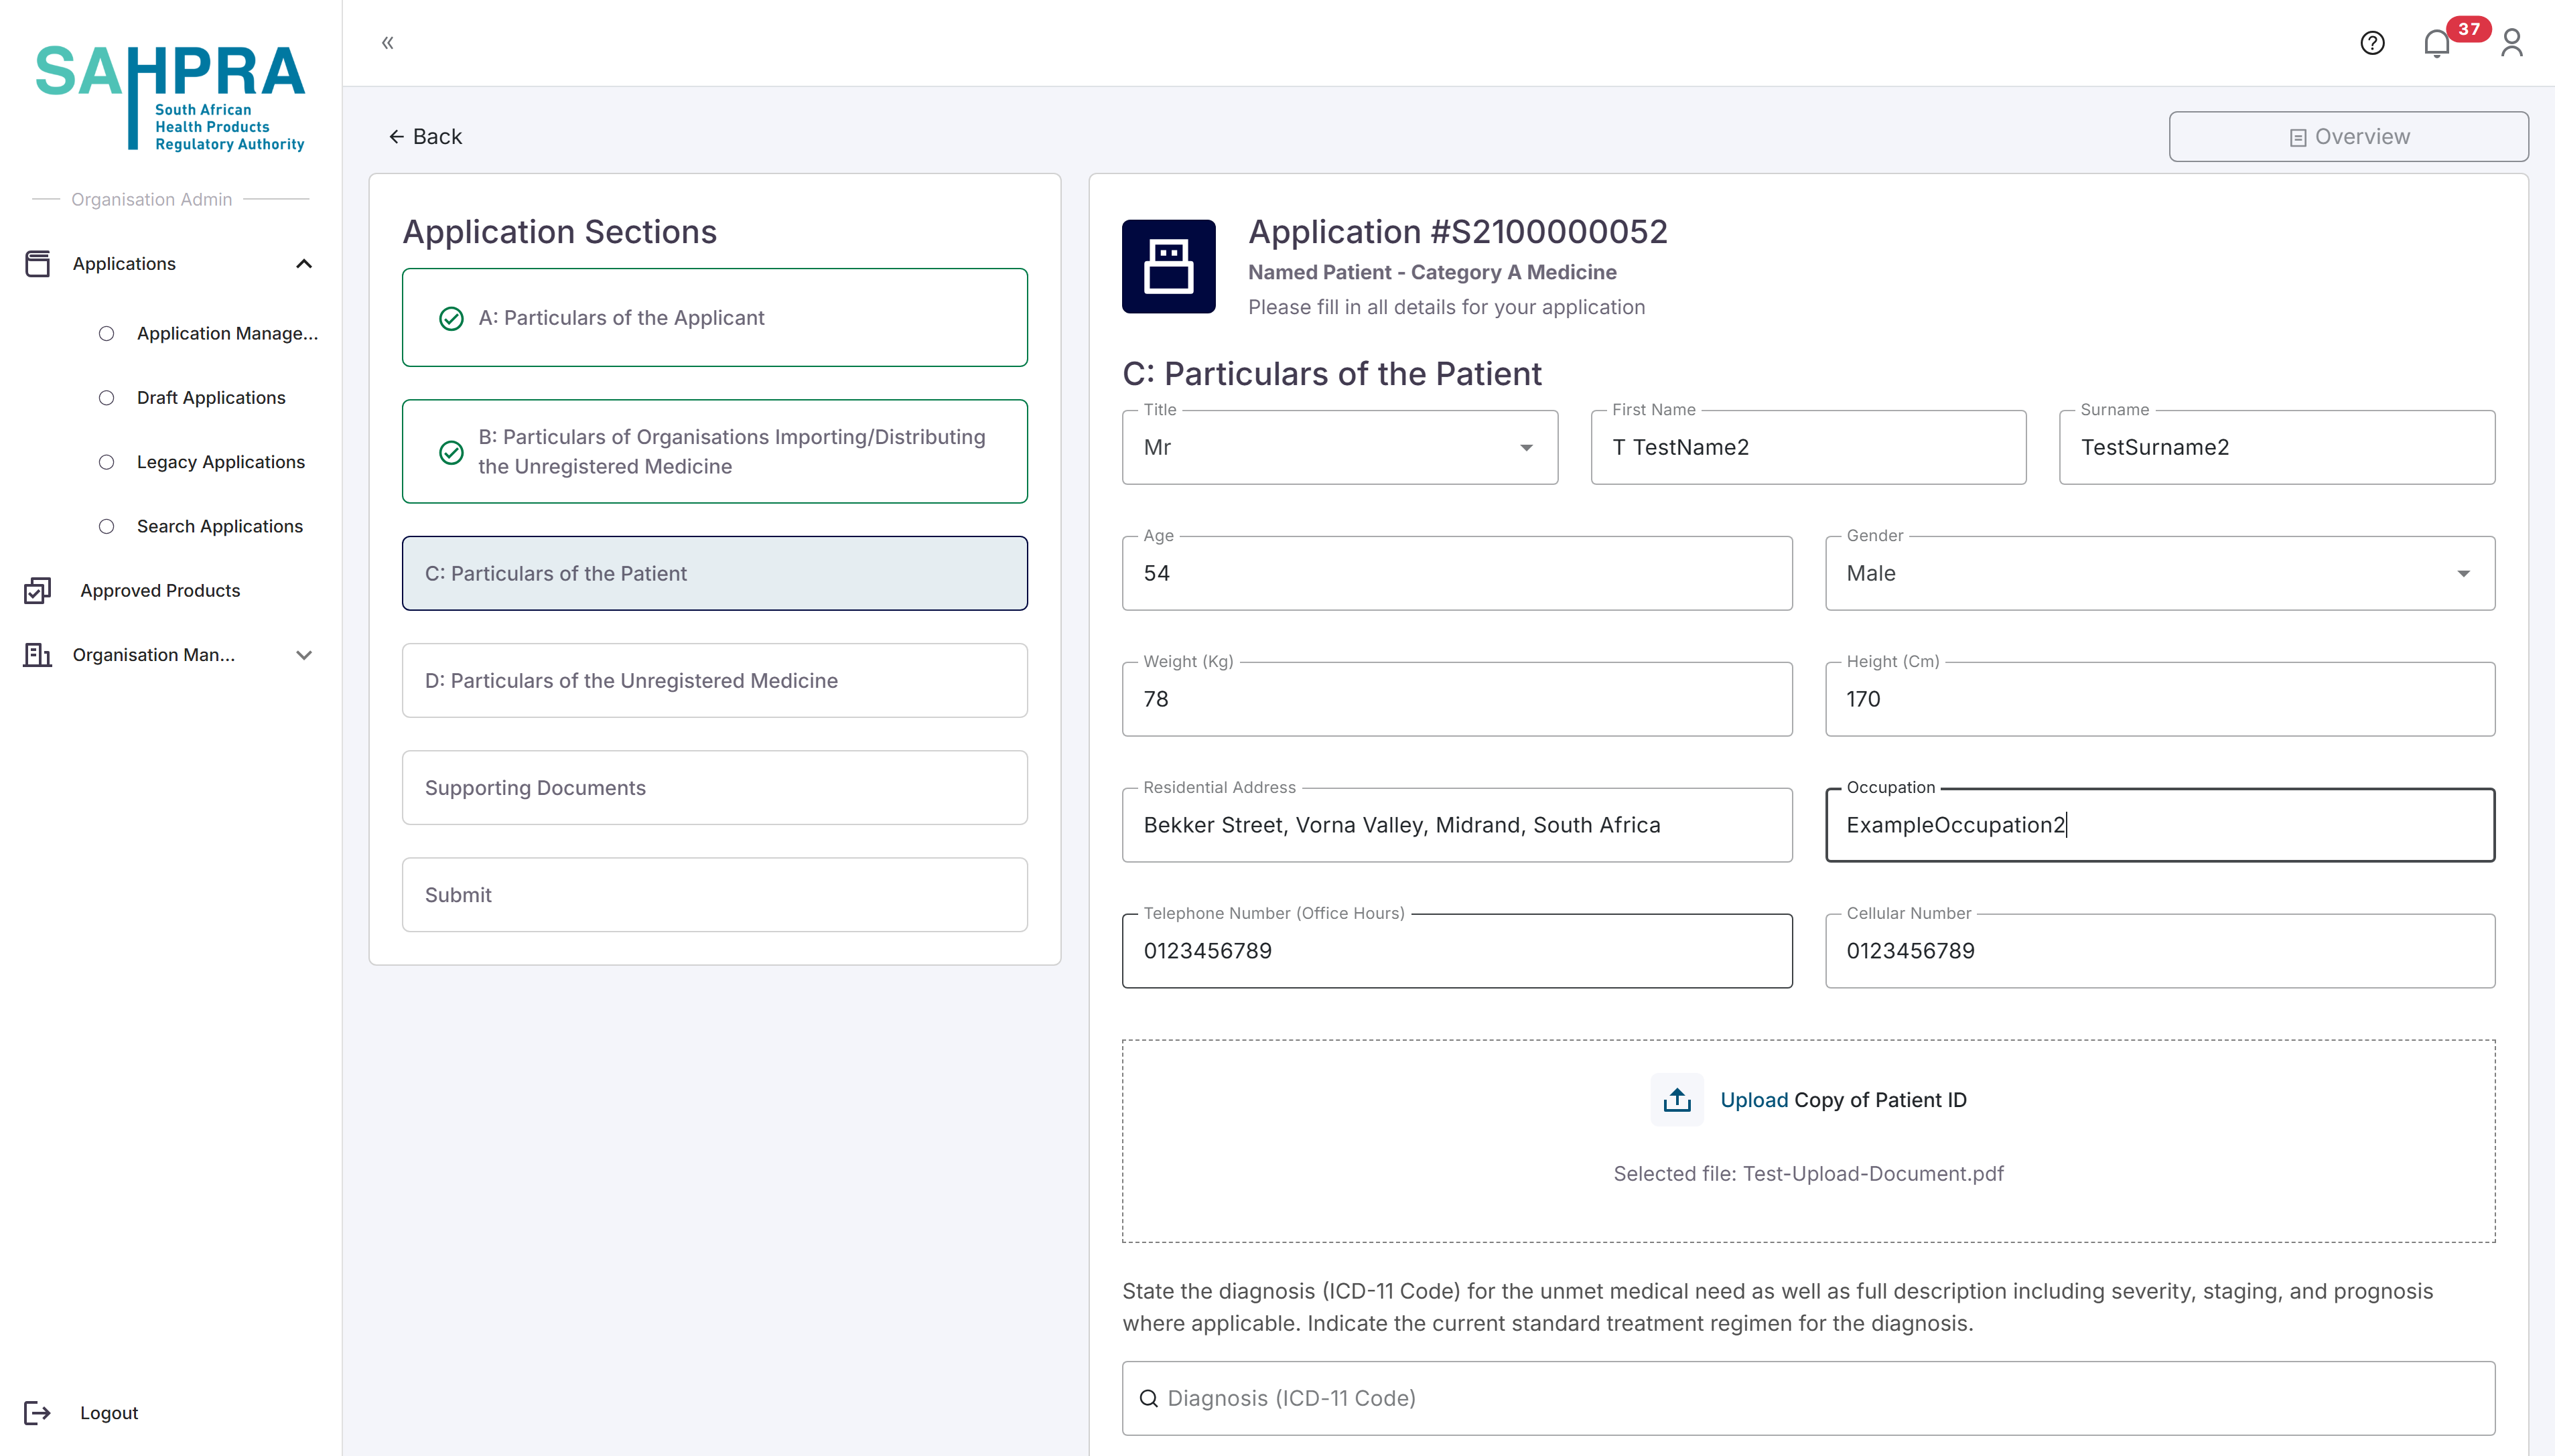
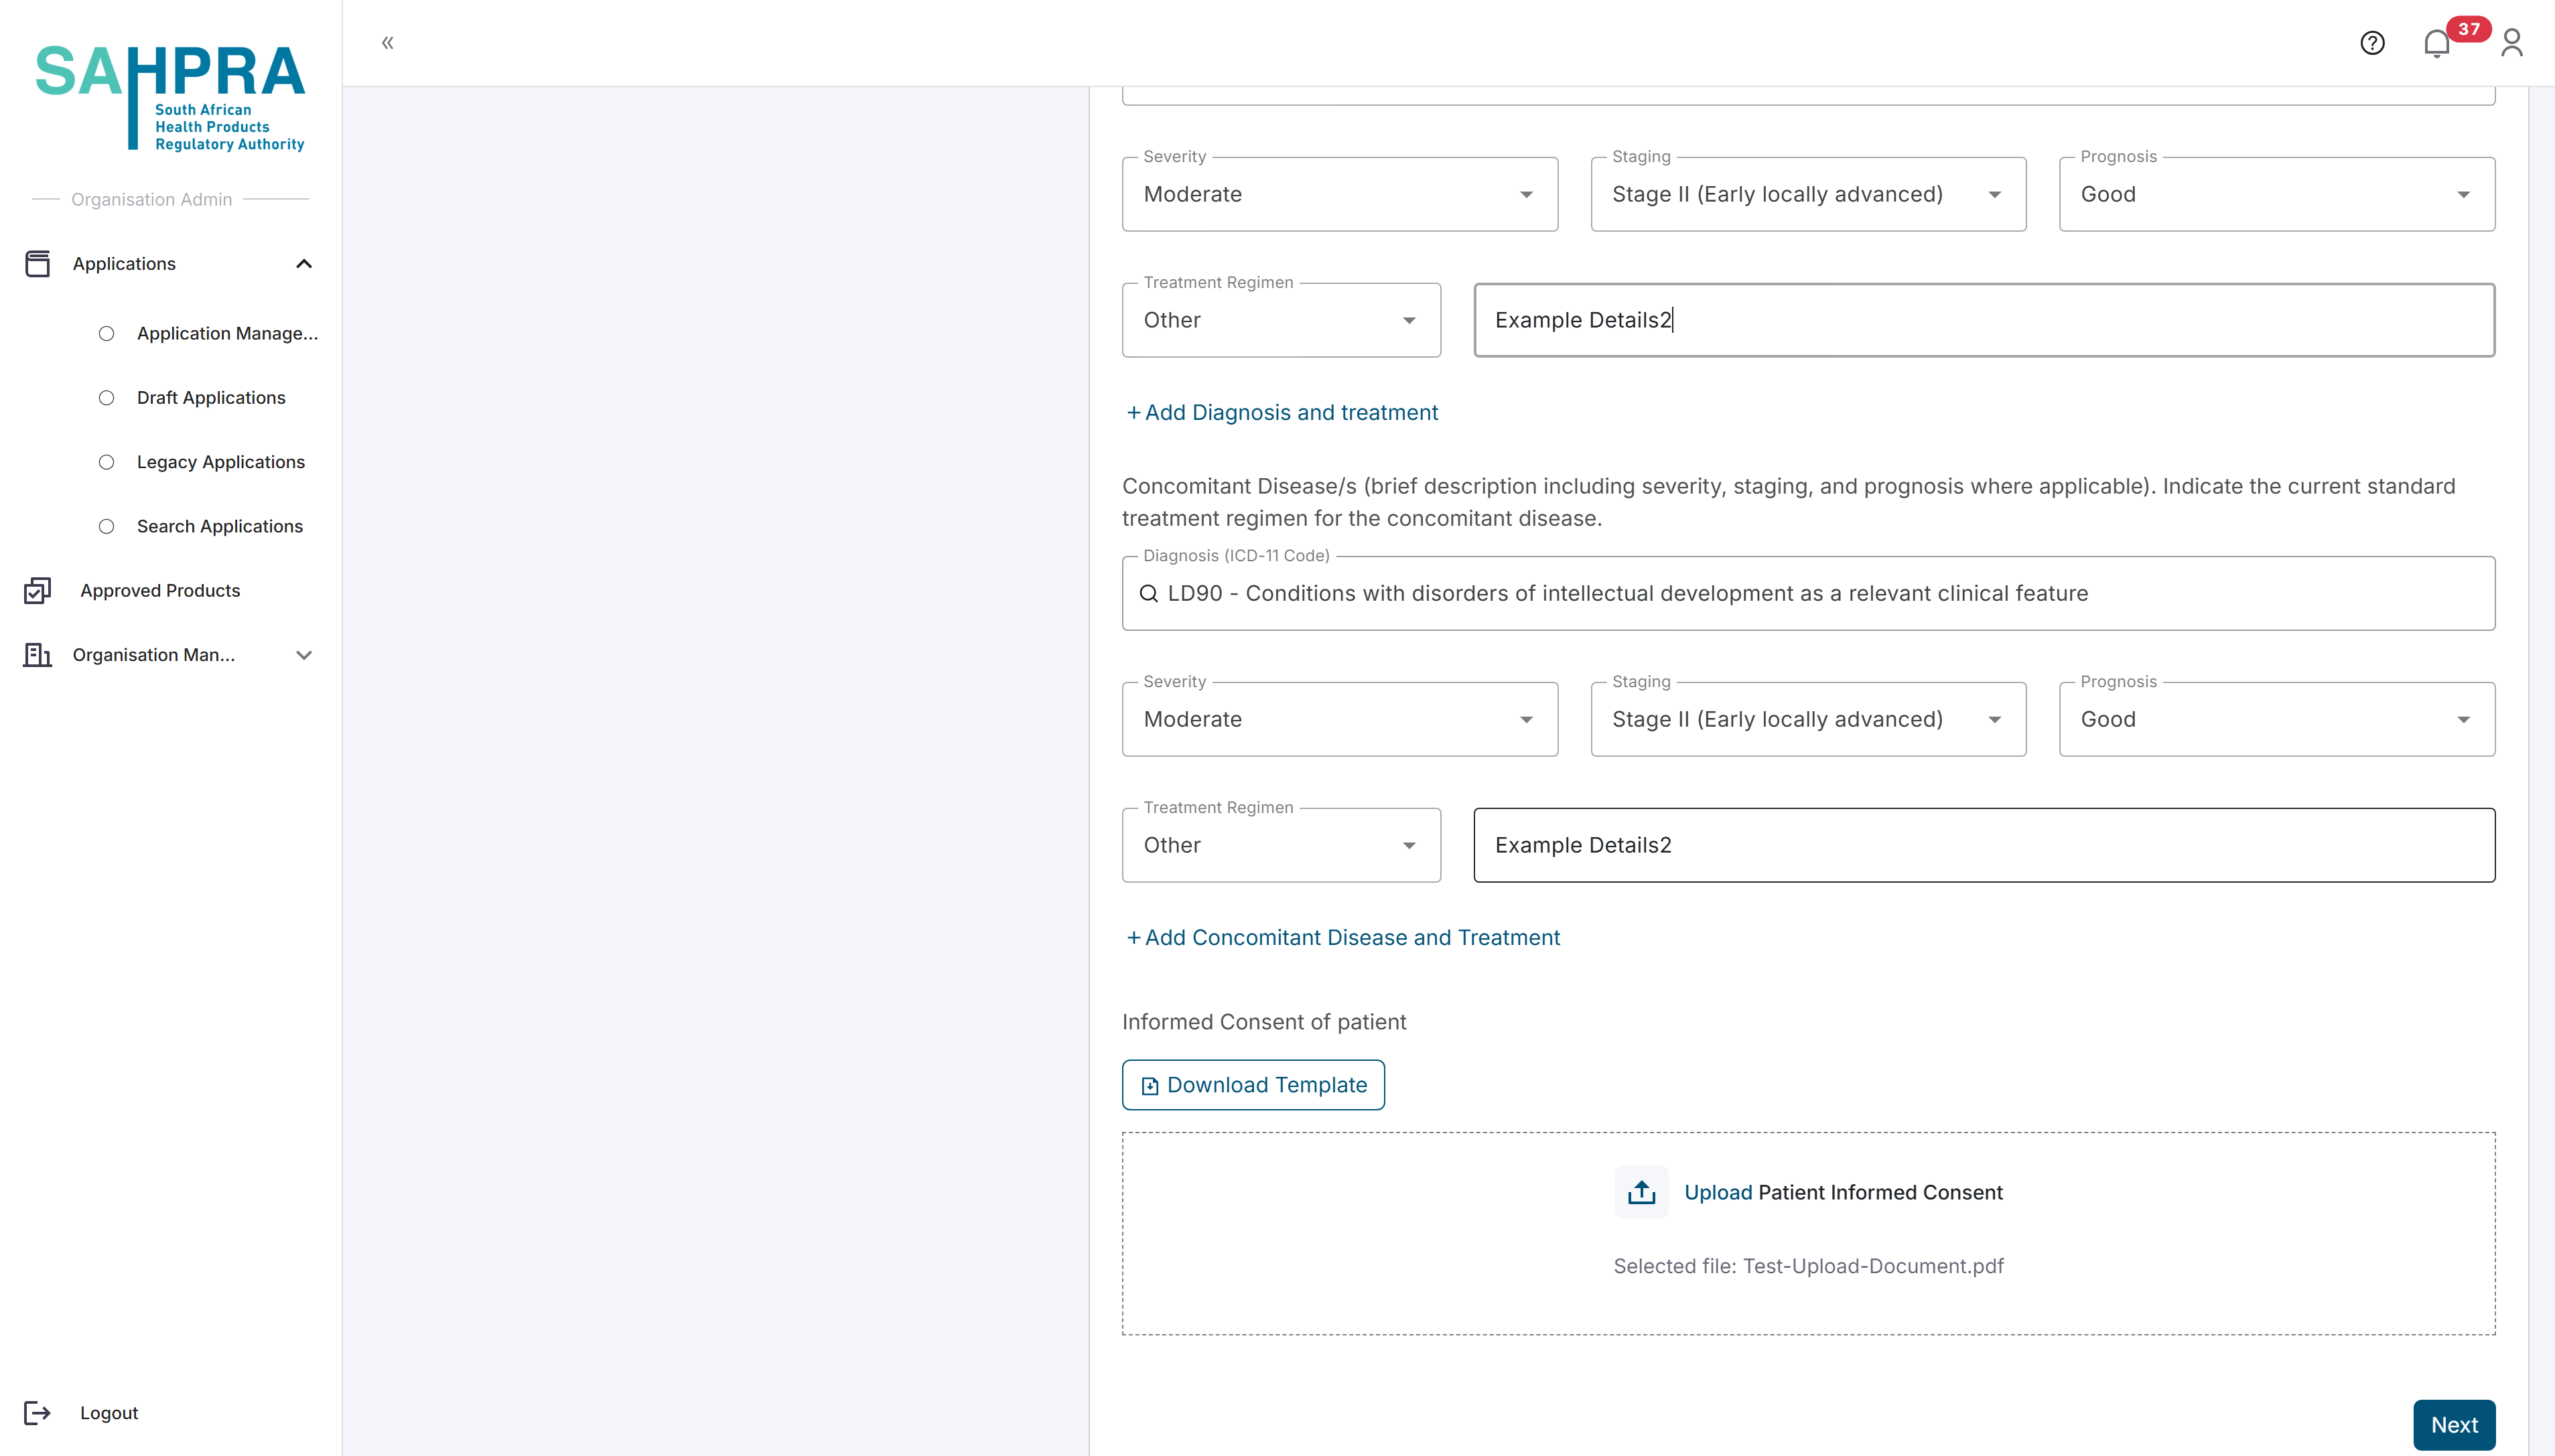
- Click “Next” to proceed to Section D.
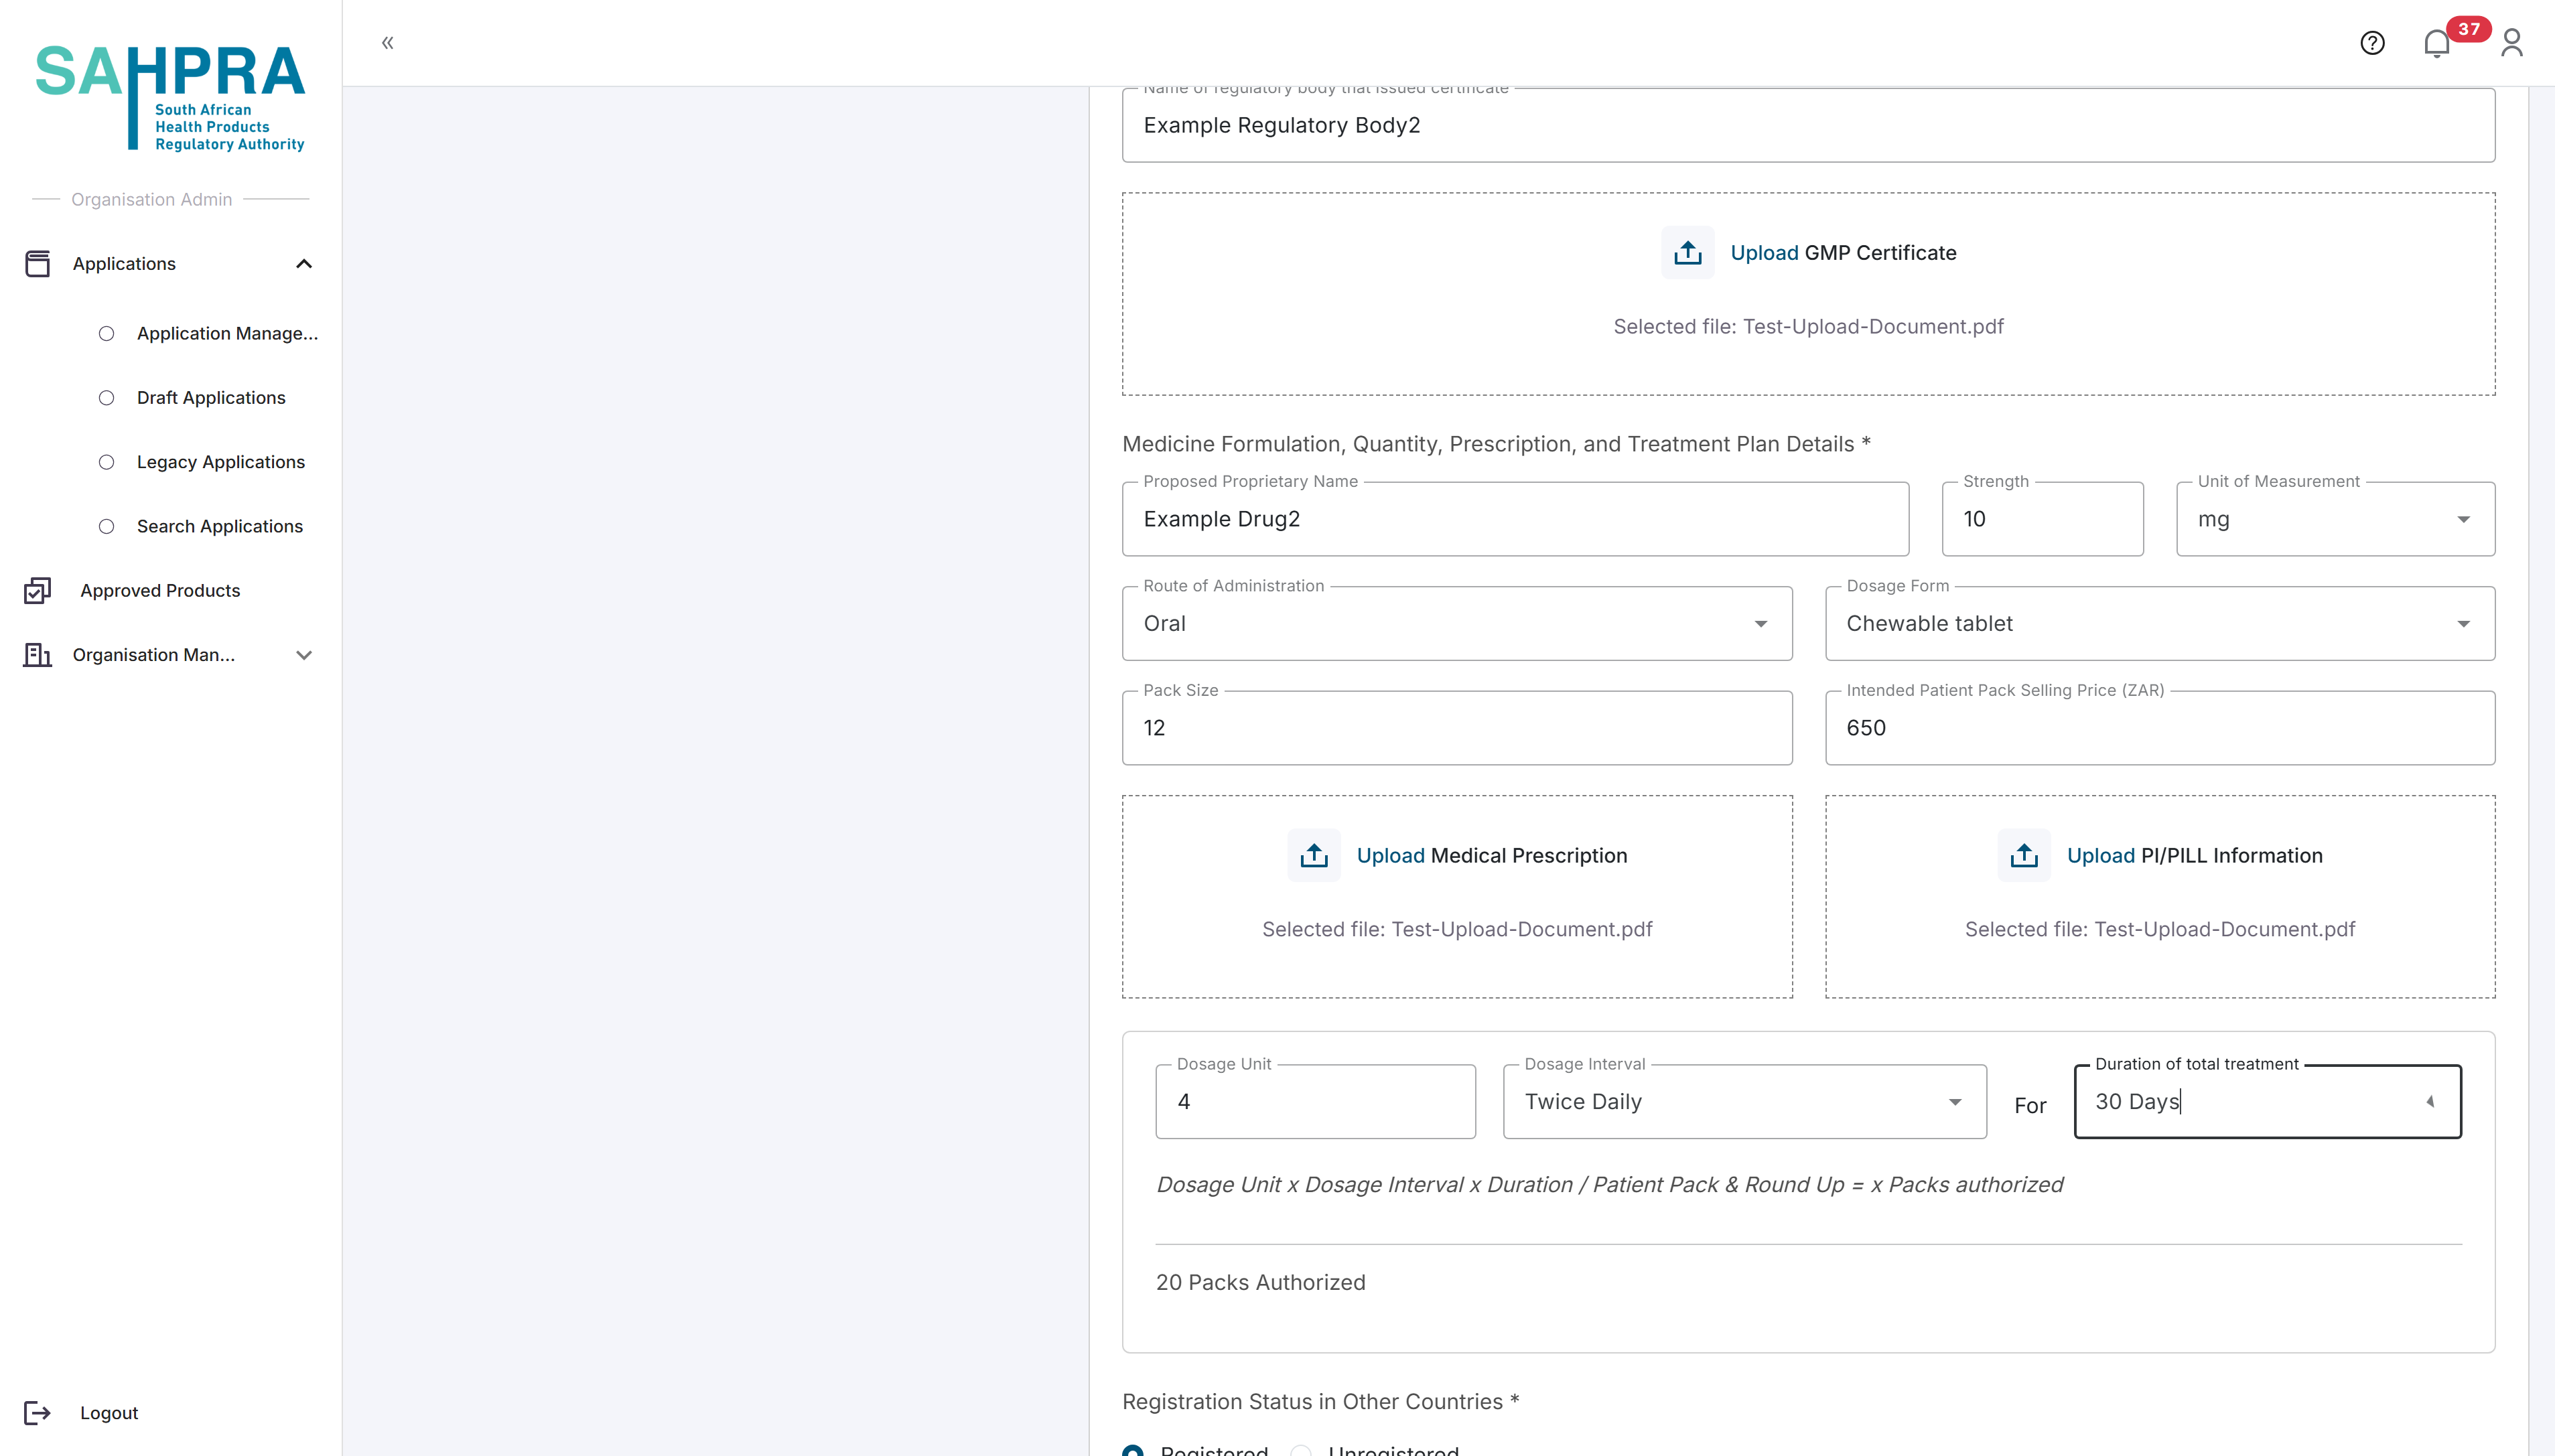
Step 8: Fill in Medicine Details (Section D)
- Fill in all the required information about the unregistered medicine you are applying for.
- For more details on the API manufacturer Information search function click here
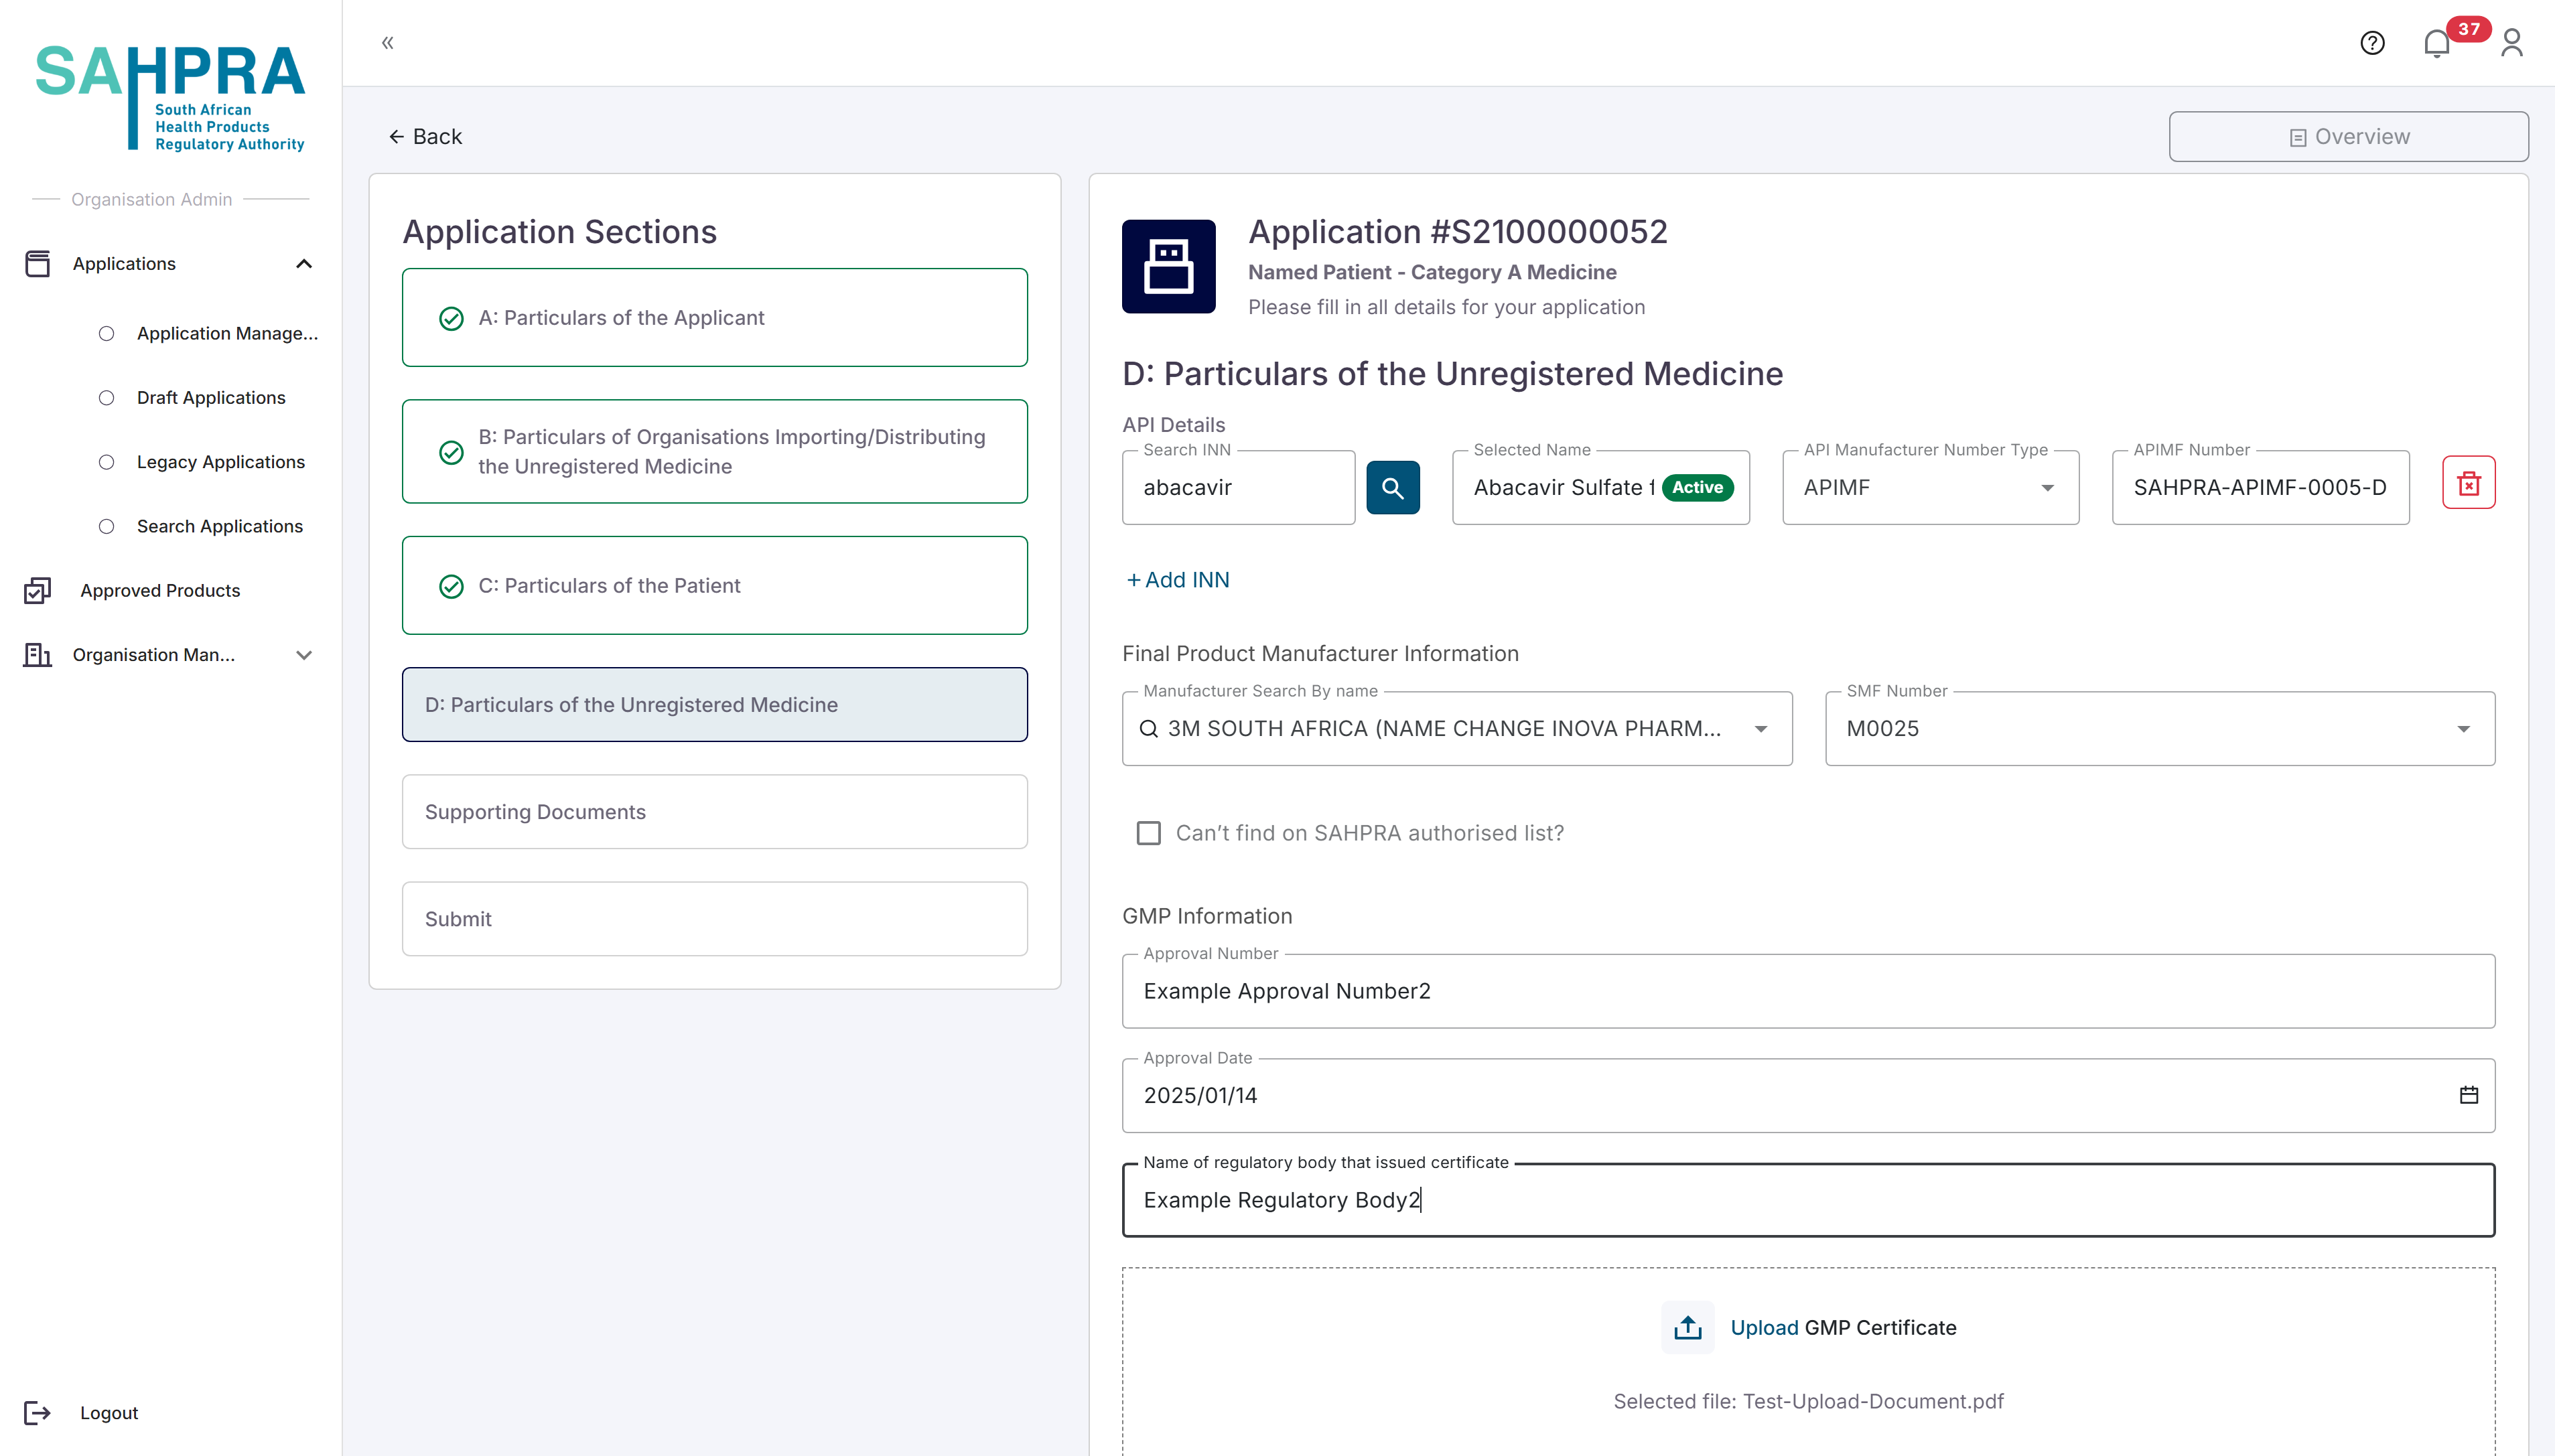

- Click “Next” to proceed.
Step 9: Upload Additional Documents
- Upload any additional documents that is relevant to your application
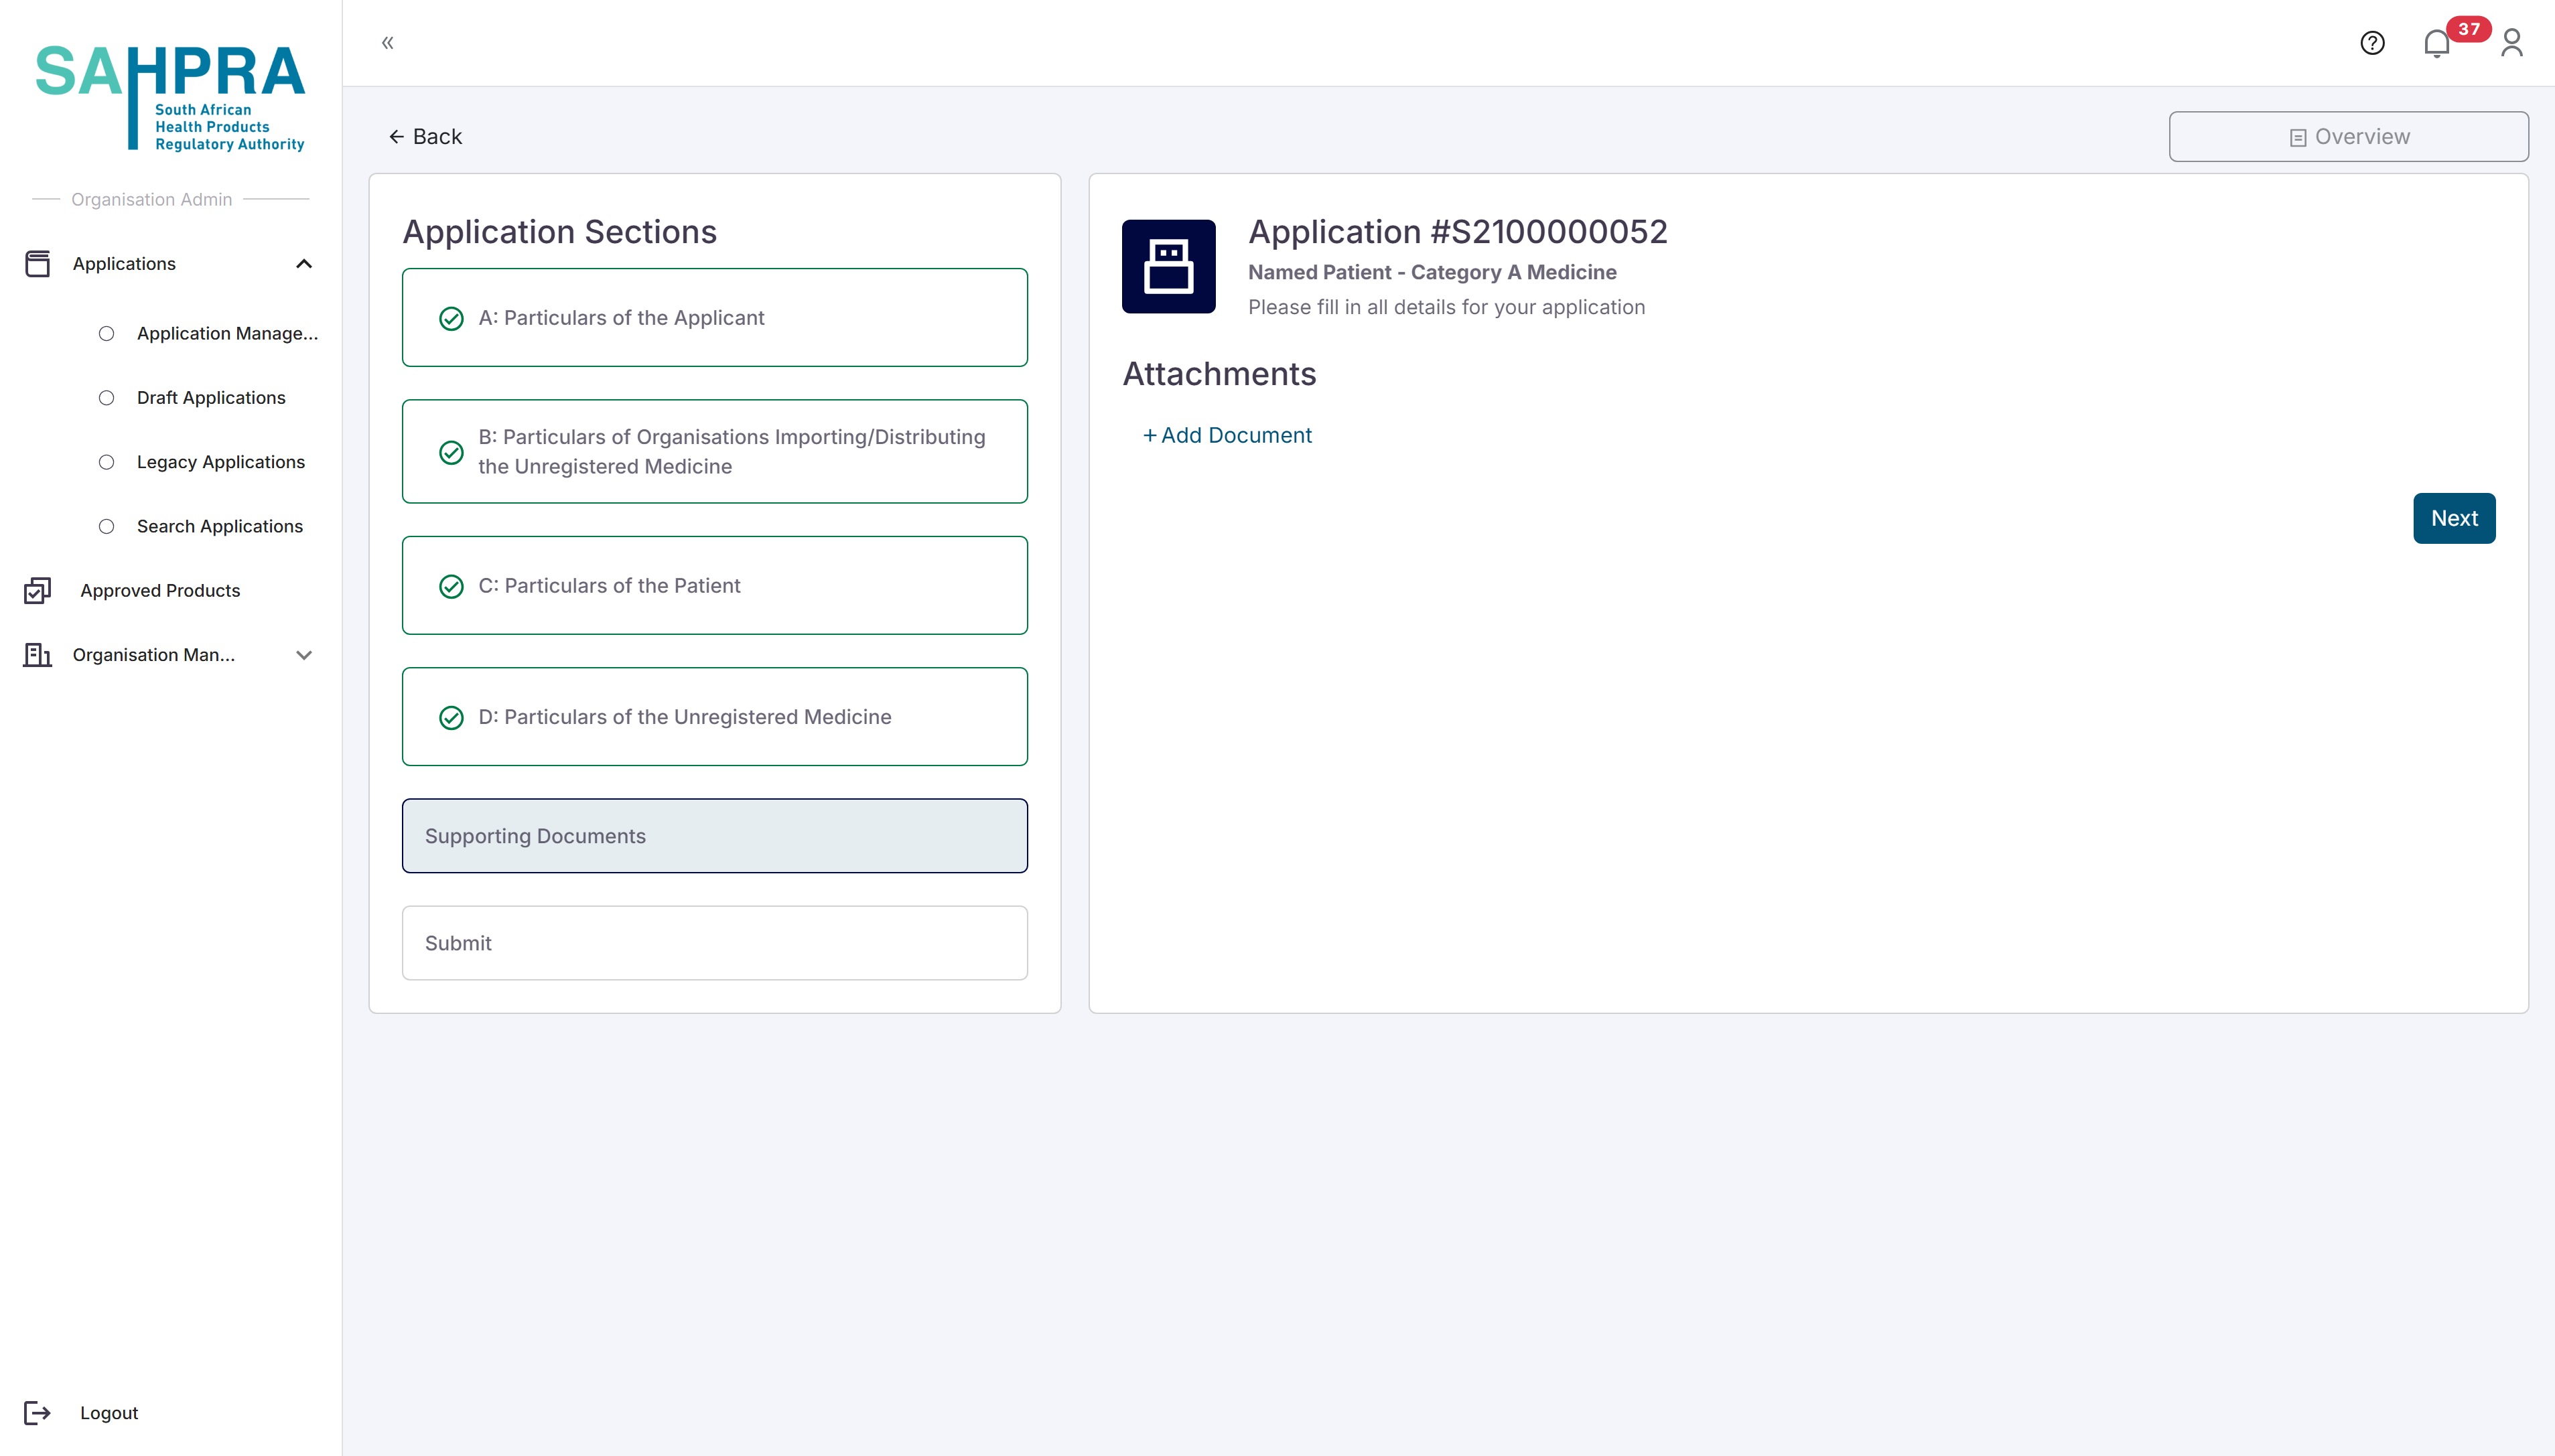
- Click “Next” to proceed.
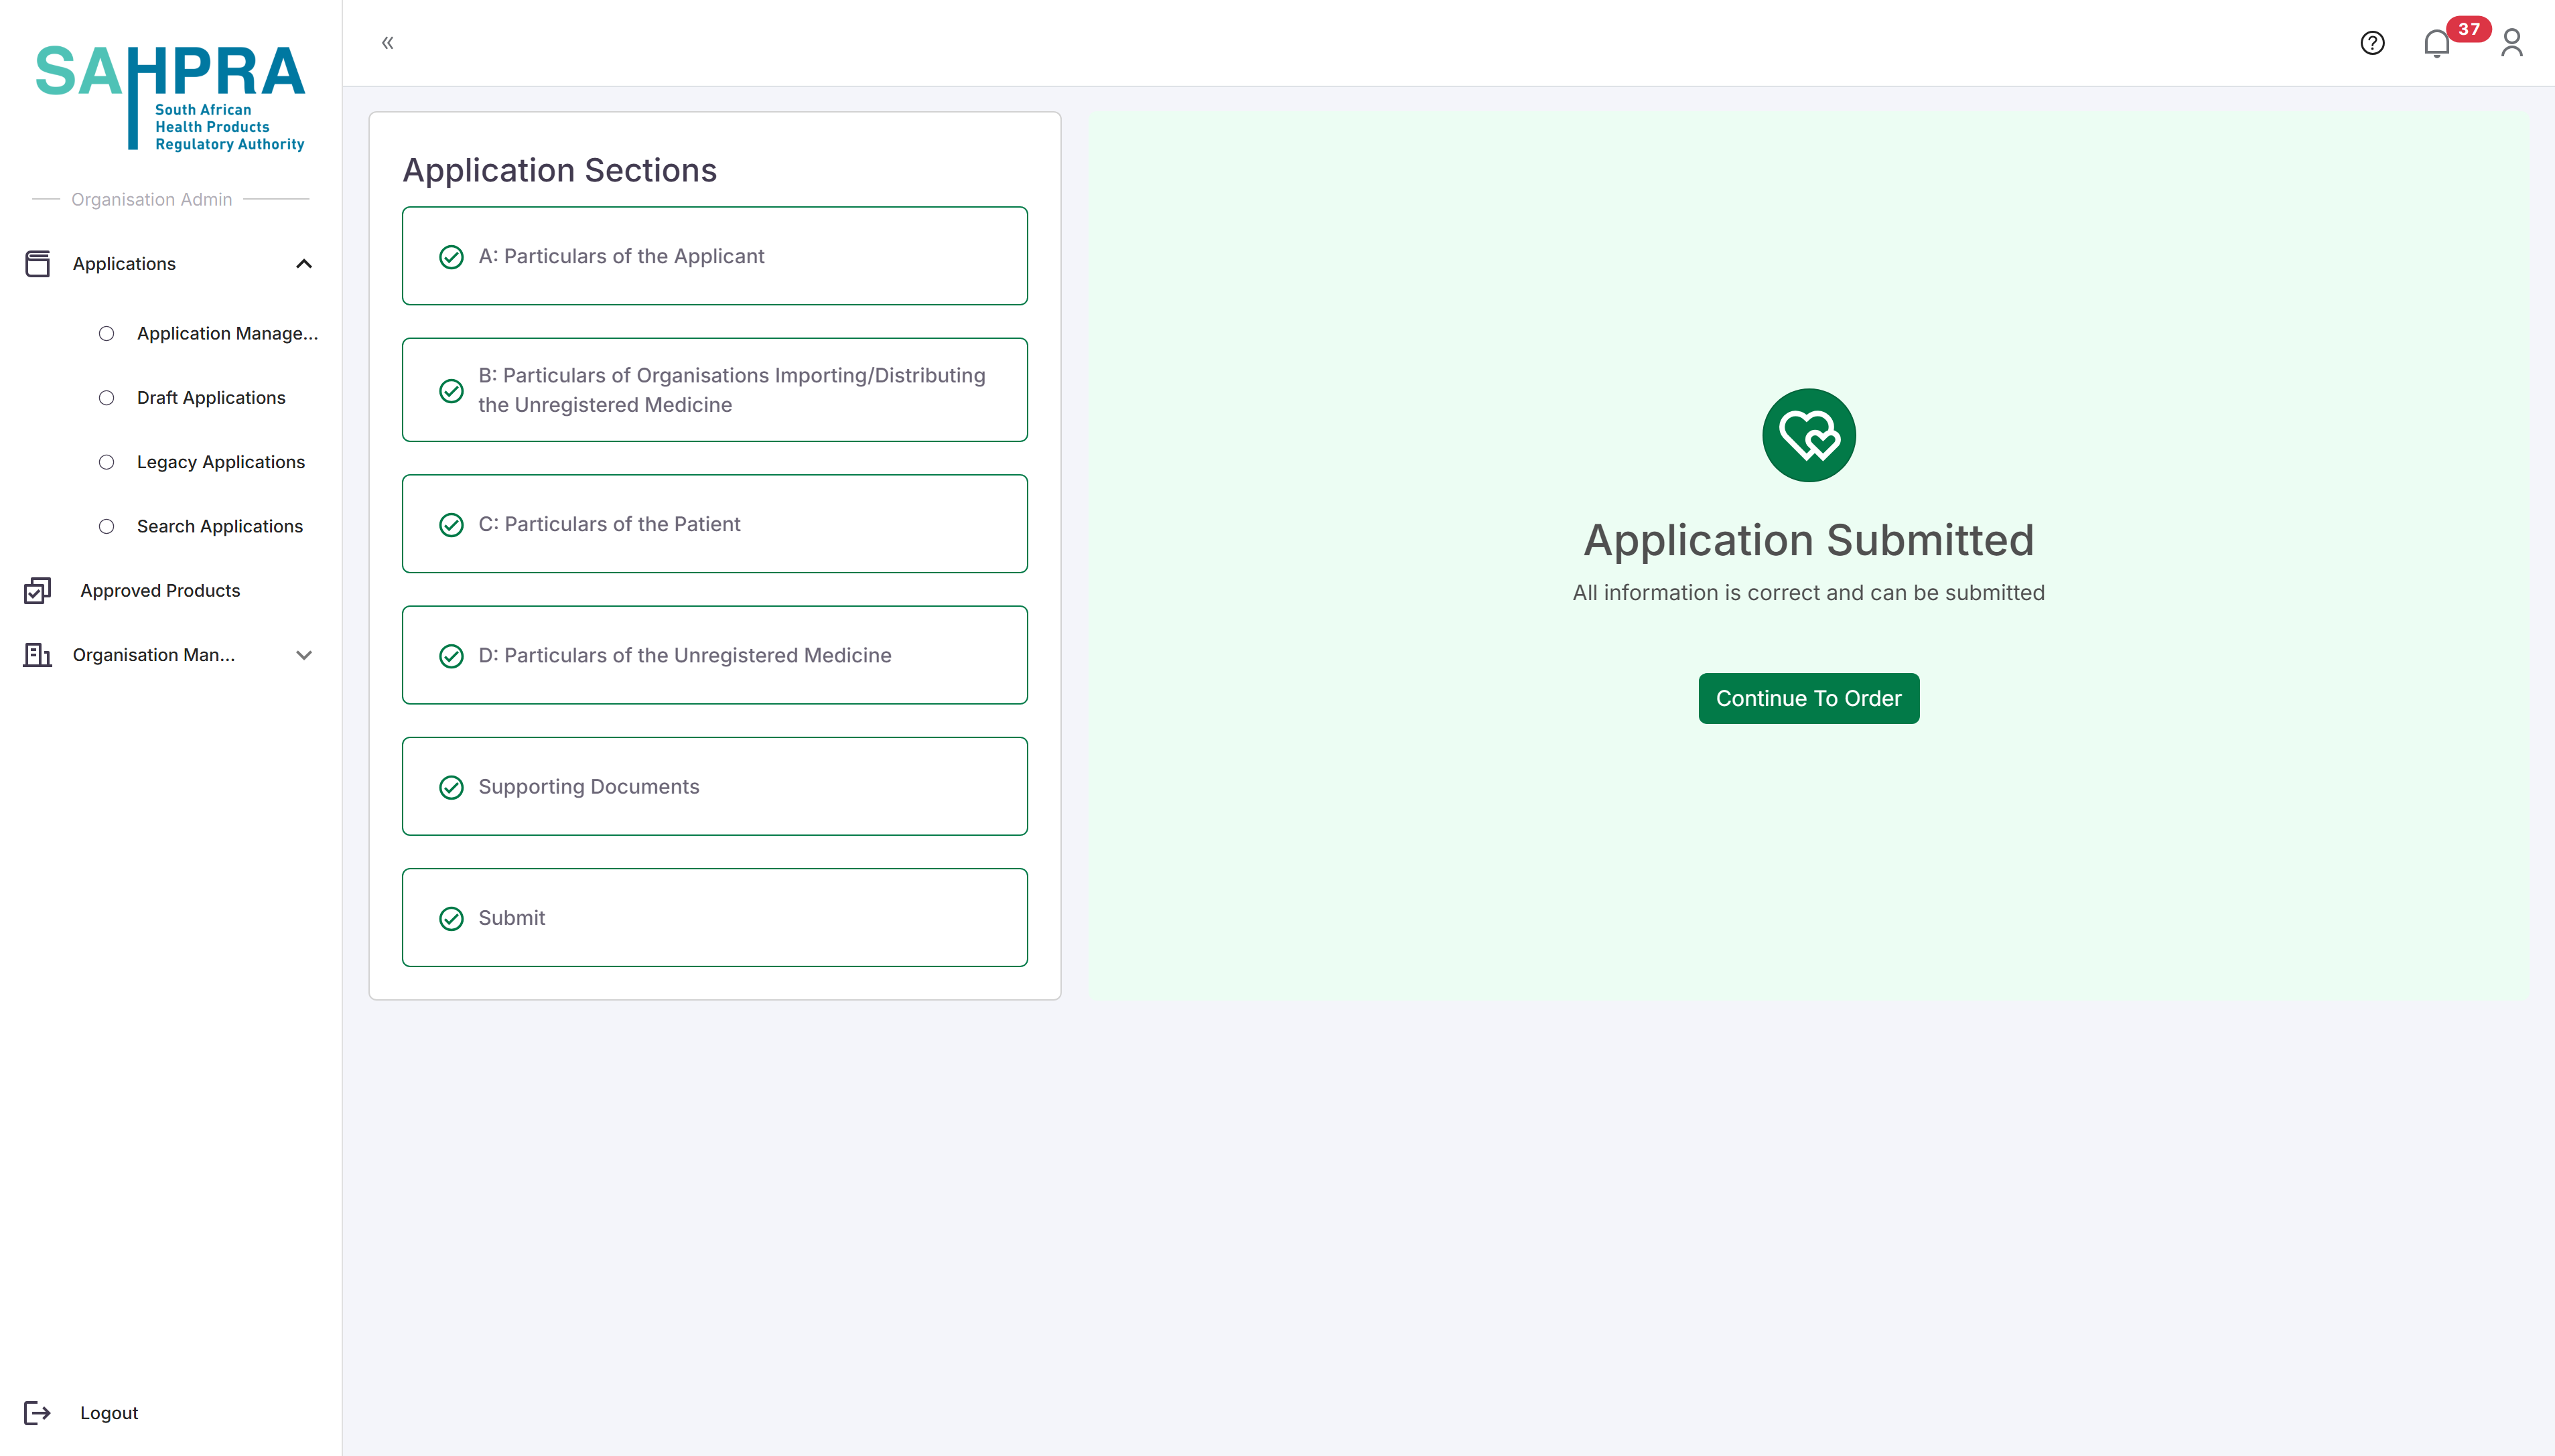
Step 10: Review and Submit
Review all entered information for accuracy and completeness.
Click “Continue To Order” to proceed to payment.
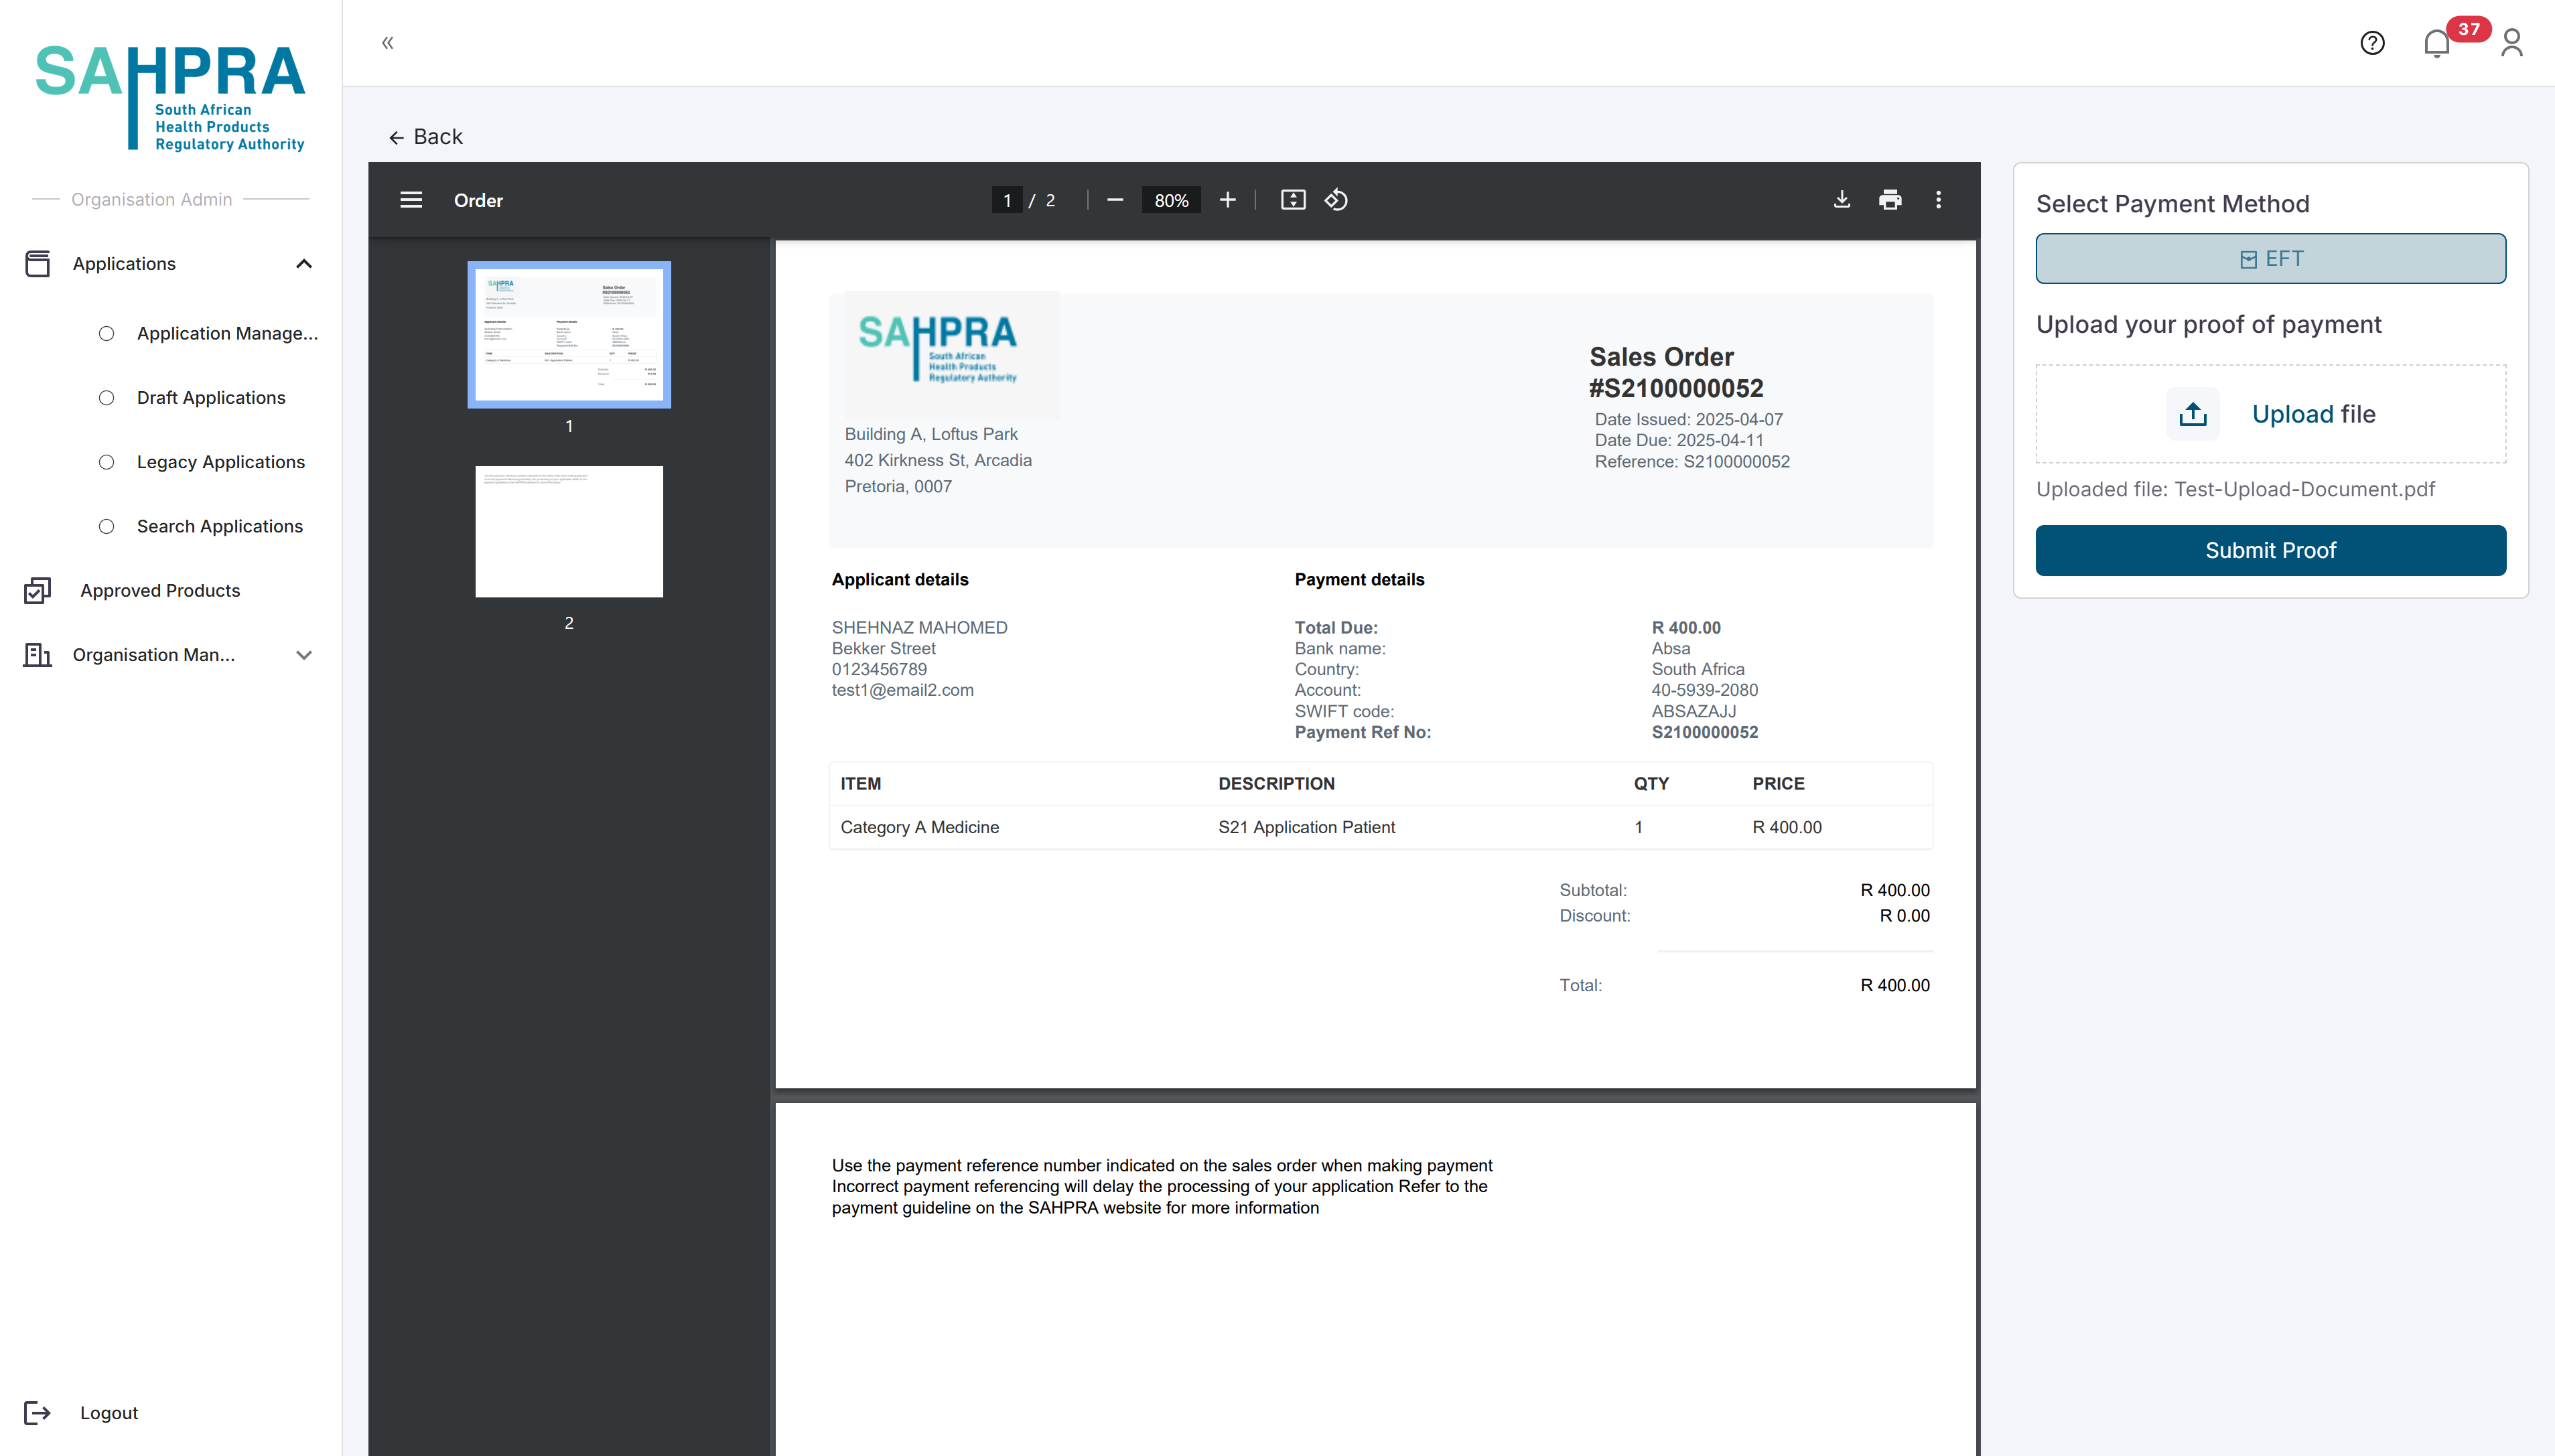
Step 11: Process Payment
Select “EFT” as the payment method.
Upload your proof of payment by clicking the upload button and selecting your file.
Click “Submit Proof” to submit your payment proof.
- You will be returned to the Applications Dashboard.
Tips for Named Patient Applications
- Ensure the patient’s consent form is properly completed and signed.
- Double-check the ICD11 code for accuracy.
- Provide detailed clinical information to support the need for the unregistered medicine.
- Clearly explain why registered alternatives cannot be used.
- Include all required supporting documentation to avoid delays.
- Follow up on your application if you don’t receive a response within 48 hours, as Named Patient applications are typically processed urgently.