User Management
Overview
This section will explain how to manage SAHPRA users on the portal. There are several tools to manage SAHPRA users on the portal:
- Invite Users
- Suspend/Disable Users
- Update User Access
- Disable/Suspend Organisations/external users
Invitation Procedure
When inviting a user, you will be selecting a role that this user has within SAHPRA and what the user will be permitted to access on the portal will depend on this assigned role:
- Reviewer
- System Administrator
- Finance Admin
- Unit Manager
Step 1: Login
As a System Administrator, login to the SAHPRA portal at https://portal.sahpra.org.za/login.
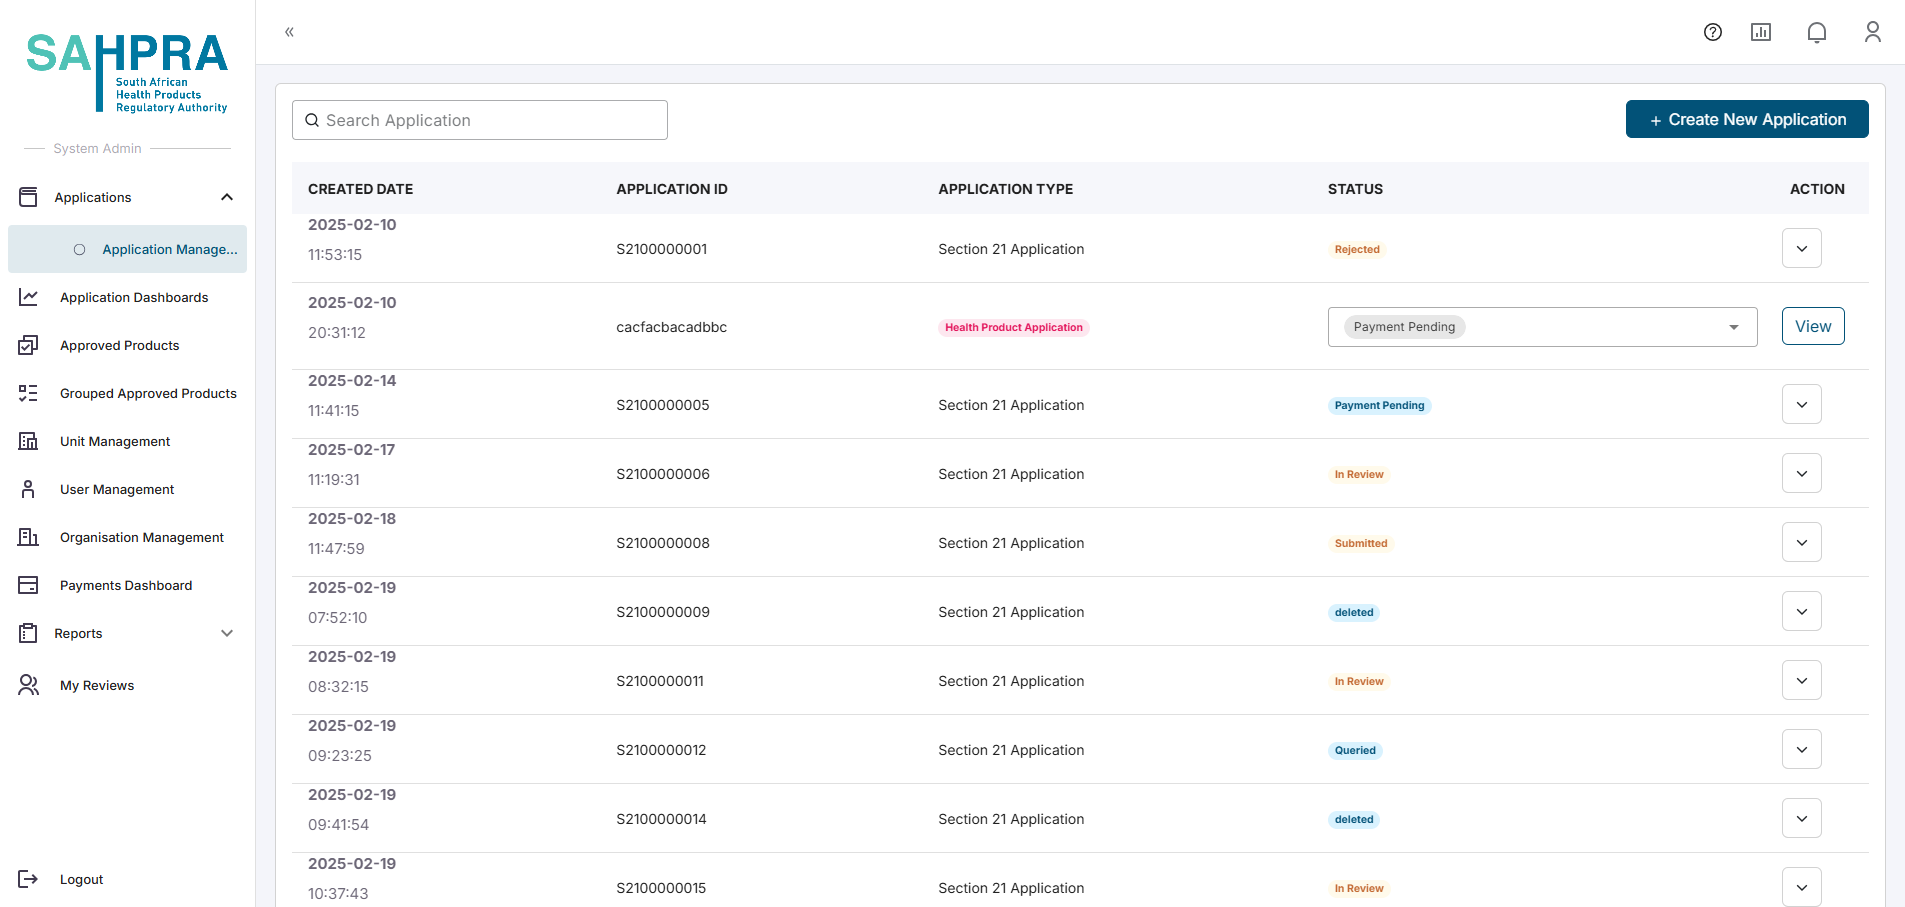
After successful login, you will be directed to the Applications Dashboard.
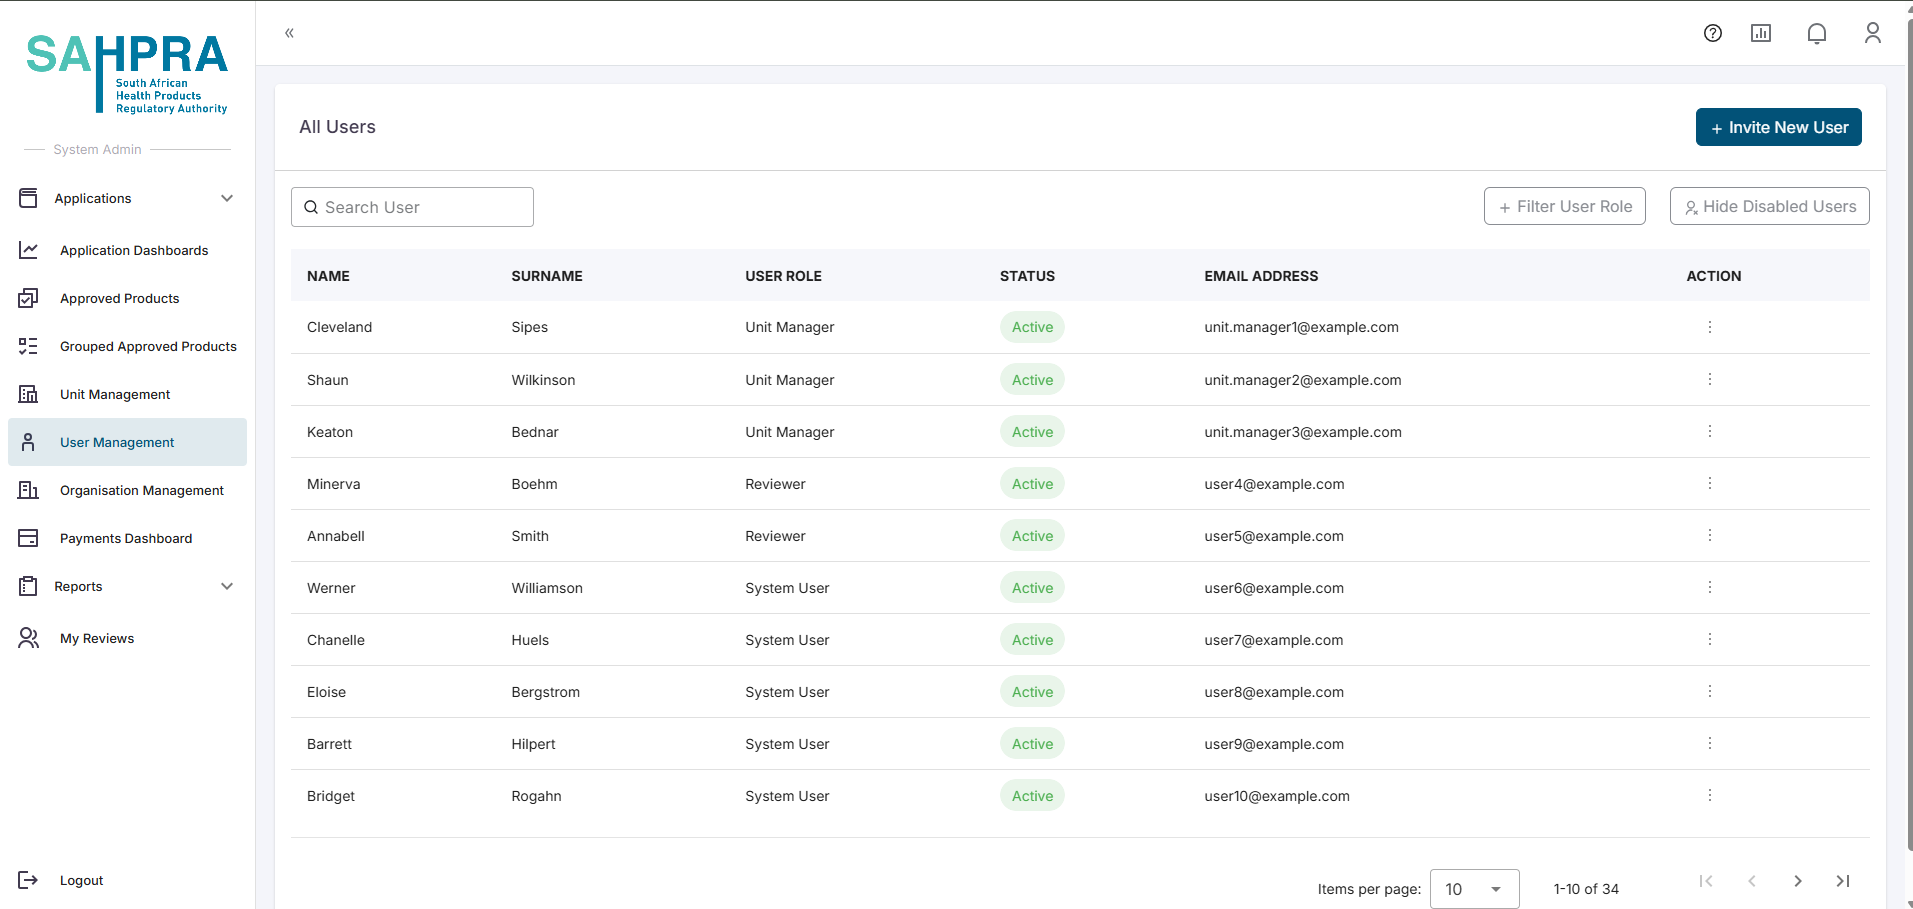
Step 2: User management
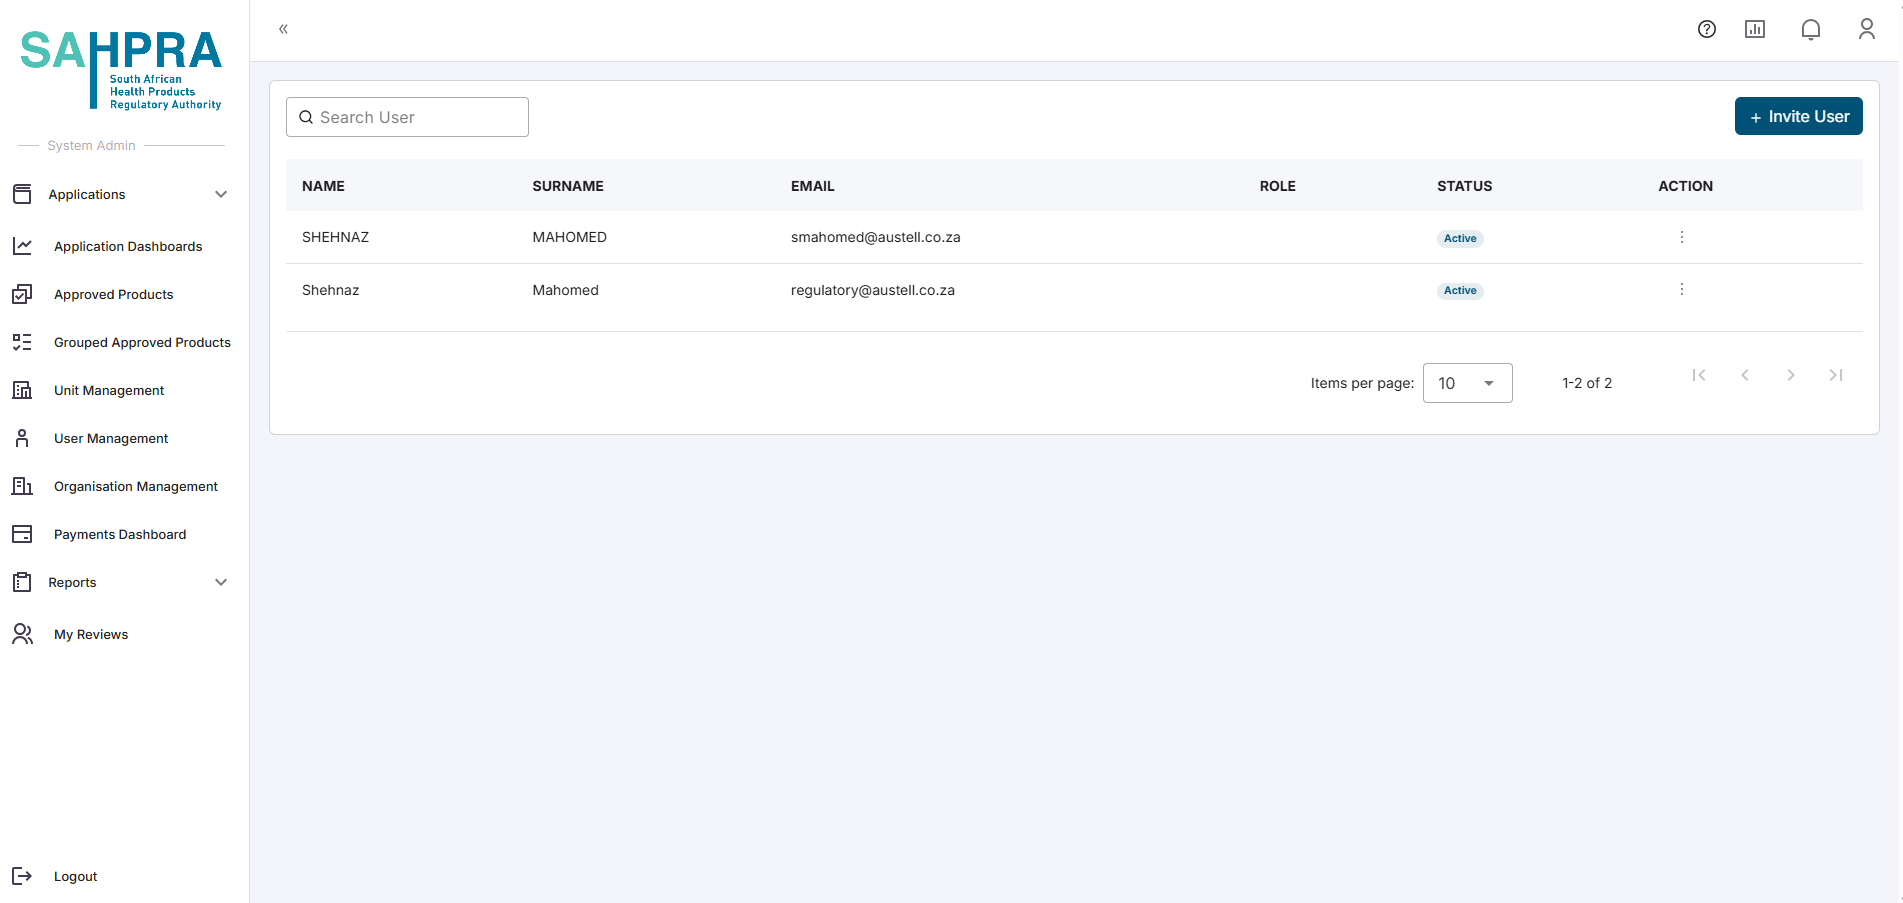
Navigate to the User Management tab
Once arriving here, you will be able to see a list of all users currently listed as internal SAHPRA users.
Step 3: Invite User
- Once clicked, a popup will be given where the User Email can be entered (must be the internal SAHPRA) and the role of the user can be selected namely Finance Admin, Organisation Admin, Reviewer or Unit Manager.
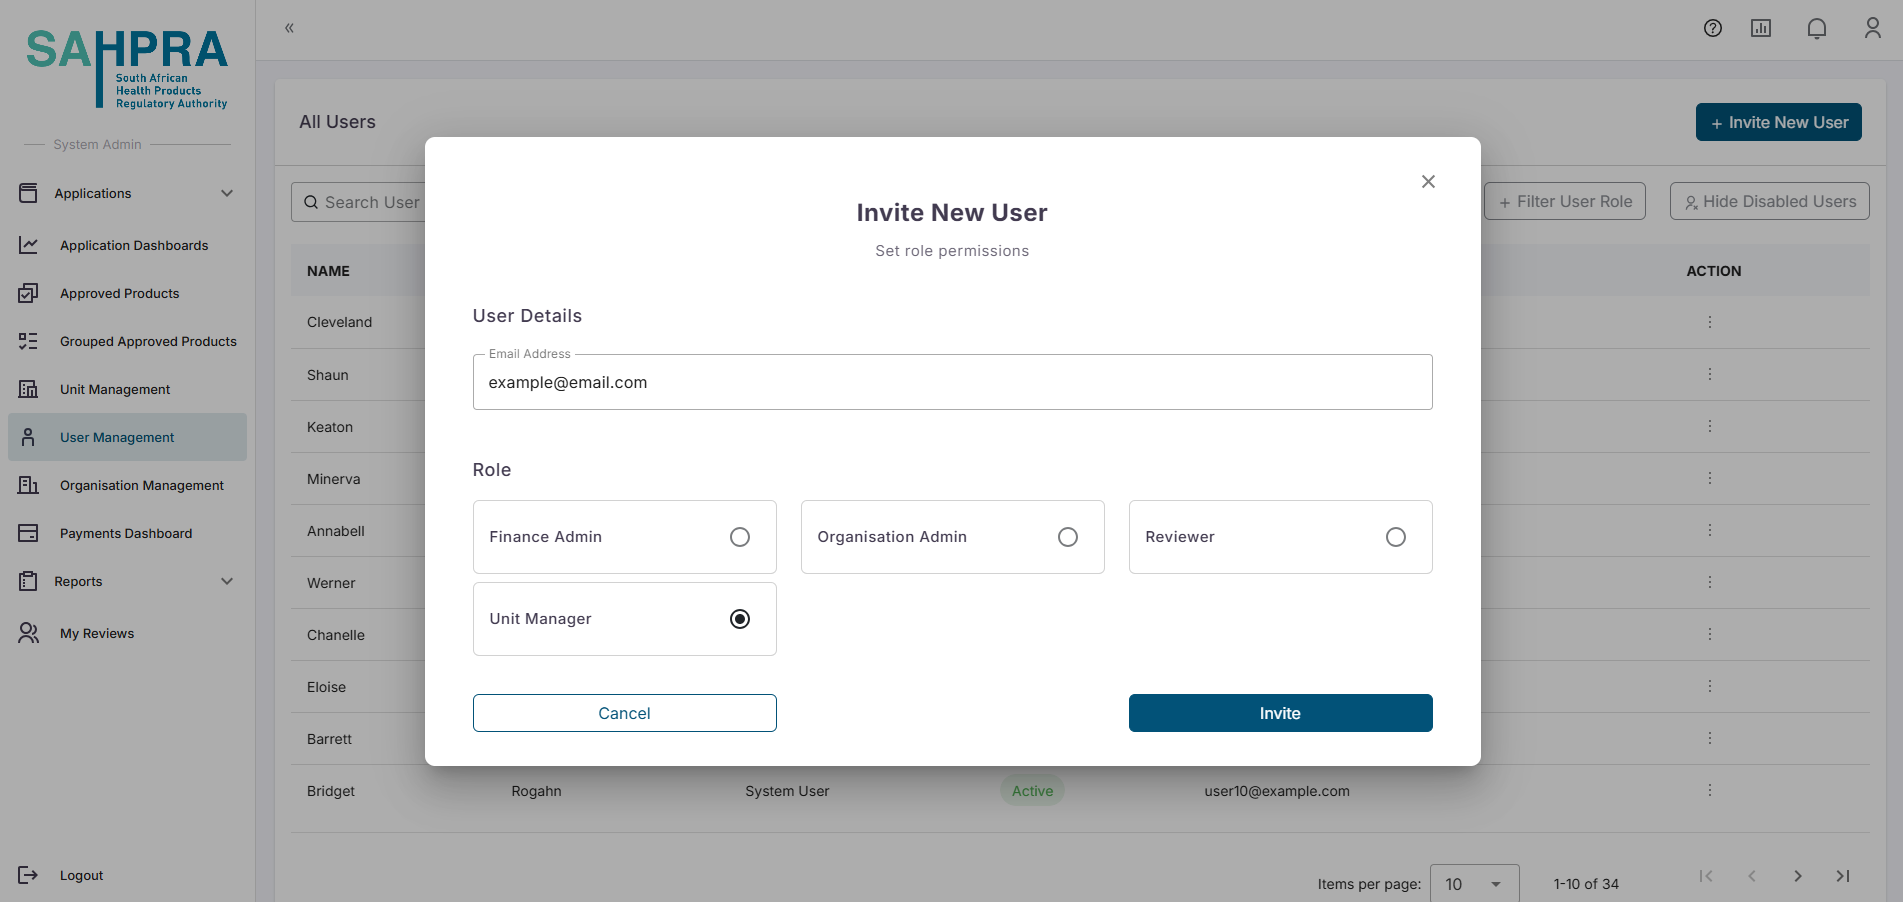
Once satisfied with the details the “Invite” button can be clicked to complete invitation.
Note: If the email address already exists on the system, you will get an error message stating that the email already exists, and a unique one must be used.
Disable/Suspend or Update users
Note: When a user is disabled/suspended, they will not be able to login until their account is Enabled again.
Step 3A: Disable/suspend user
- Once arriving at the internal user which should be suspended you can click on the action ellipse next to the entry and click on the Disable User button.

Step 3B: Update user
- Once arriving at the internal user which should be updated, you can click on the action ellipse next to the entry and click on the “Update User Access” button.
Disable/Suspend Organisations
Note: When a user is disabled/suspended, they will not be able to login until their account is Enabled again.
Follow Step one to Log in
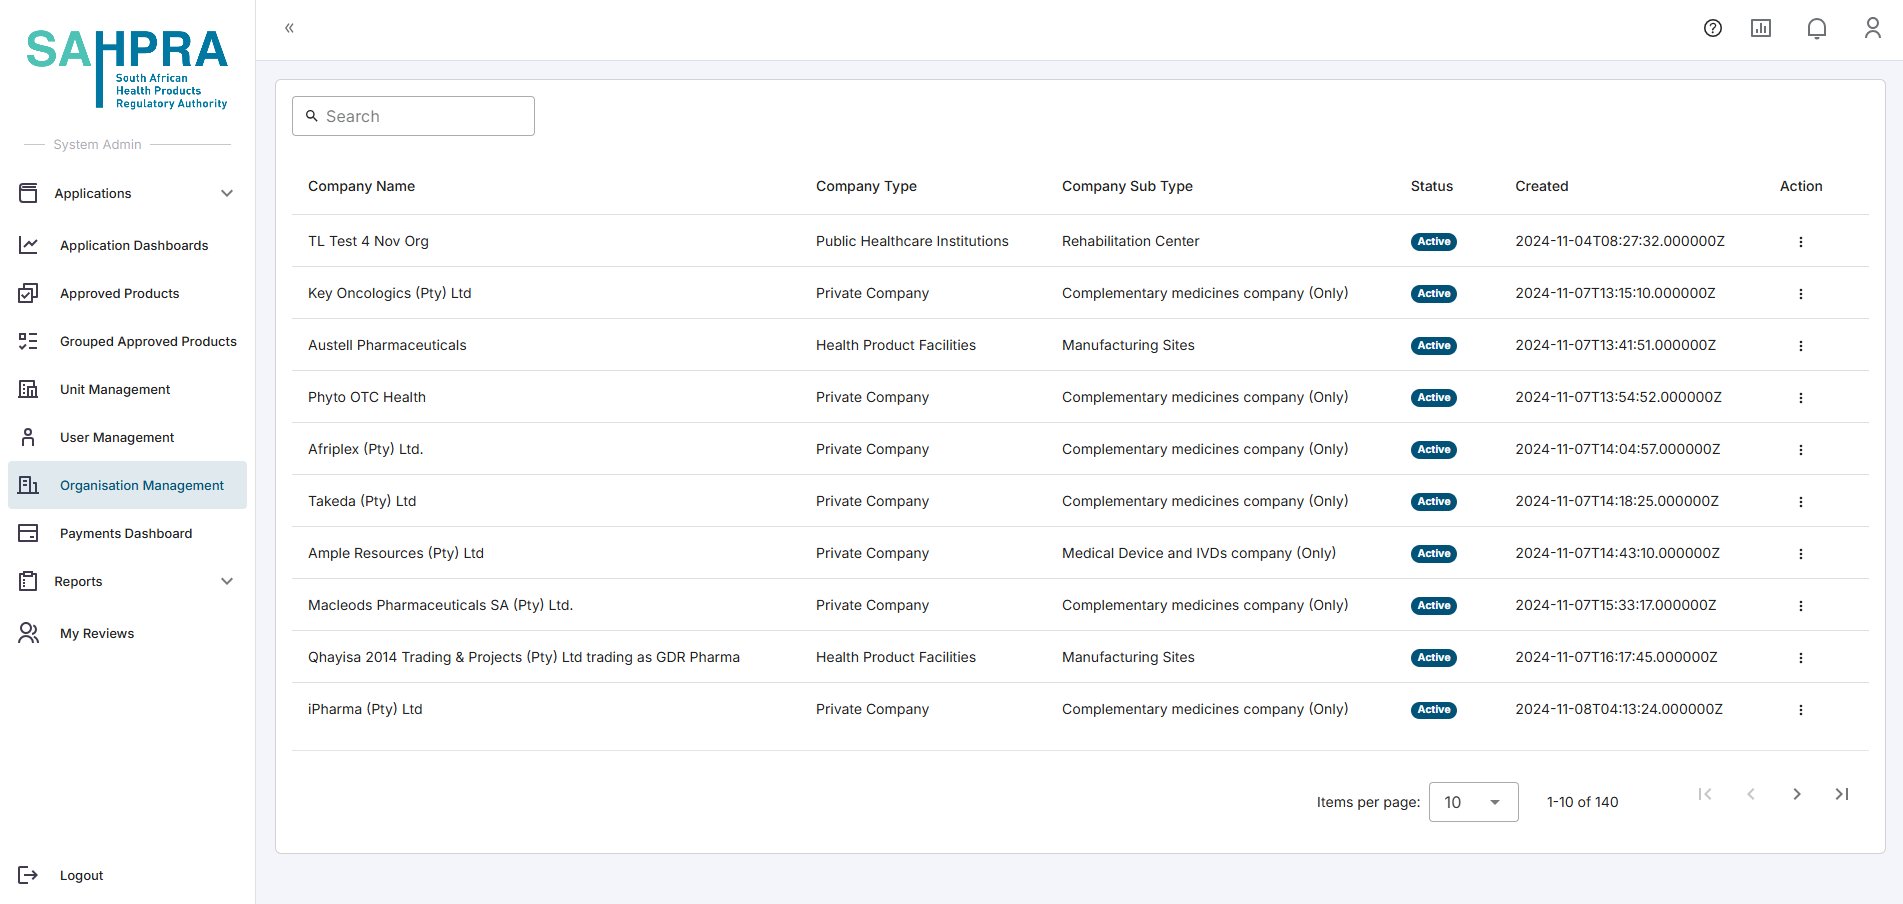
Step 2: Organisation management
Navigate to the Organisation Management tab
Once arriving here, you will be able to see a list of all the registered organisations on the portal.
Step 3A: - Disable/suspend Organisation
- Once arriving at the organisation which should be suspended you can click on the action ellipse next to the organisation entry and click on “Suspend”.

- Once this is active all organisation users will not be able to login until their account is Enabled again.
Step 3B: Disable/suspend user of Organisation
- If you wish to only disable a user, only click on the “View Users” action next to the organisation entry and then on the user entry click on “Disable User”.
- After clicking View Users, follow the same method as Disable/Suspend User - Step 3 to disable a user within a company.